Set up Voicemail & Shared Voicemail Inbox
Voicemail allows callers to leave messages when an extension is unavailable. NexusUC supports both individual and shared voicemail inboxes, with options for email delivery, custom greetings, and BLF key access.
-
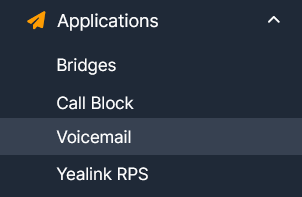
Navigate to Applications → Voicemail.
-
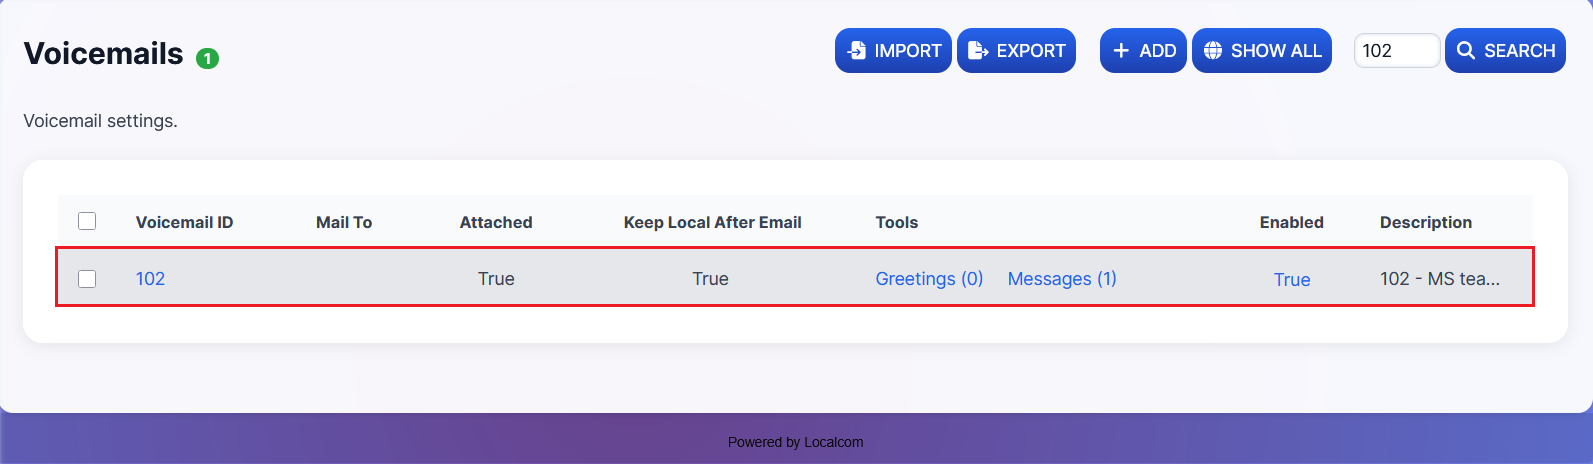
Here you can see existing voicemail inboxes (enabled or disabled), modify settings, and create new shared voicemail inboxes.
Configuring Voicemail Greetings
-
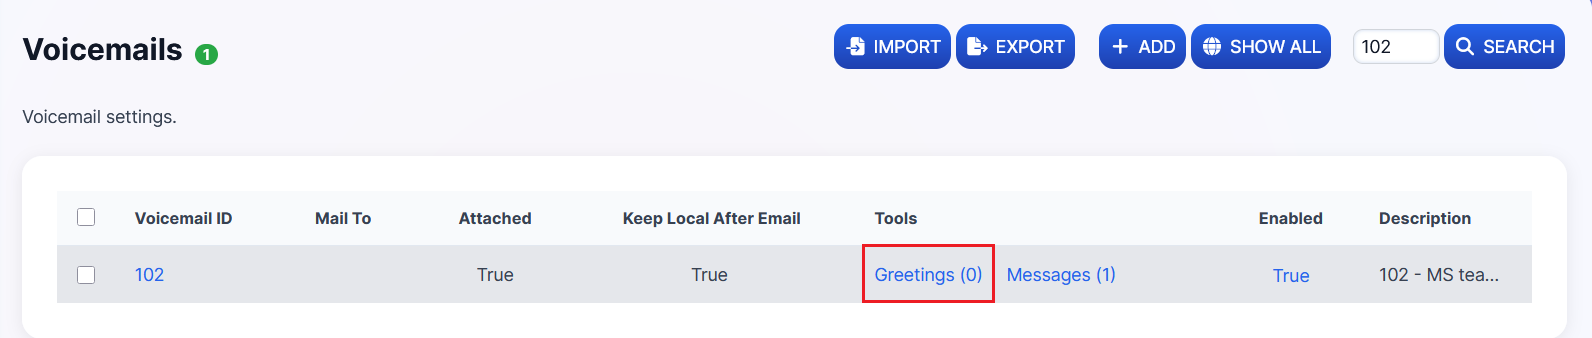
Click on the Greetings tool for the voicemail inbox you want to edit.
-
You can attach a greeting in two ways:
Option A: Upload a recorded greeting file in WAV format
-
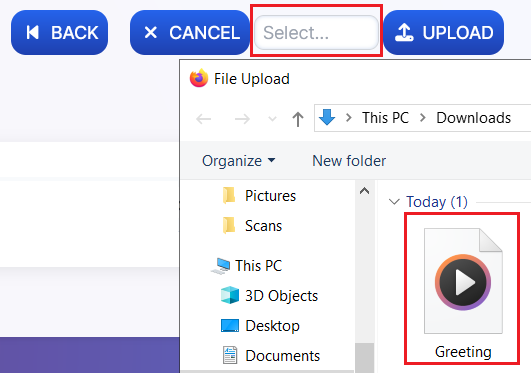
Click "Select" to choose a file to upload
-
Click the Upload button (large files may take some time)

-
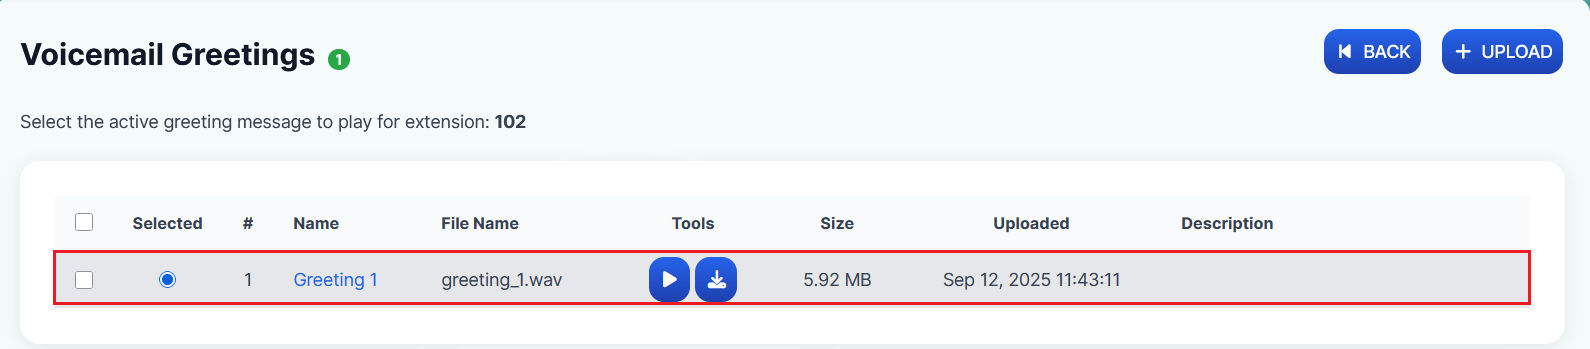
The greeting will appear once uploaded and attached:
Option B: Record a greeting manually from the phone
- Dial *97 to access the voicemail menu
- Press 5 for Advanced Options
- Press 1 to Record a Greeting
- Press any number between 1 and 9 (this tags the greeting in the system — e.g., choosing 1 labels it as greeting1)
- Record the greeting at the tone, then press # to end
After recording, you'll be presented with these options:
- Press 1 — Listen to the recording
- Press 2 — Save the recording
- Press 3 — Re-record the greeting
Warning
Make sure you press 2 to save the recording so that it will be applied.
-
Editing Voicemail Settings
-
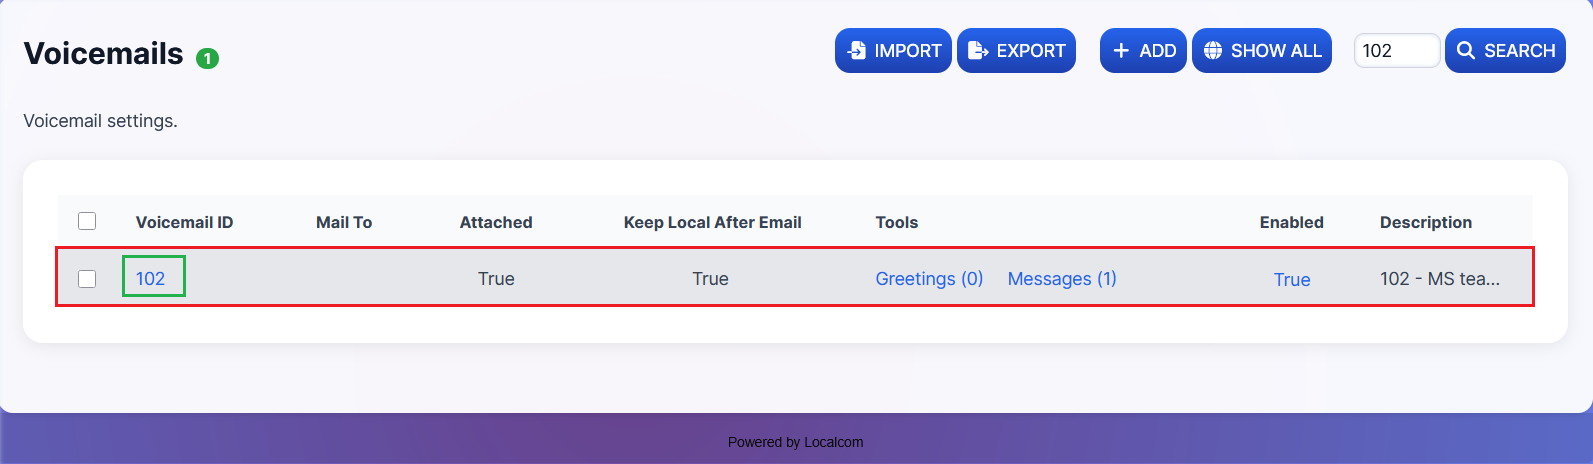
Click on the voicemail inbox from the list to edit additional settings.
-
Available settings:
Greeting Settings:
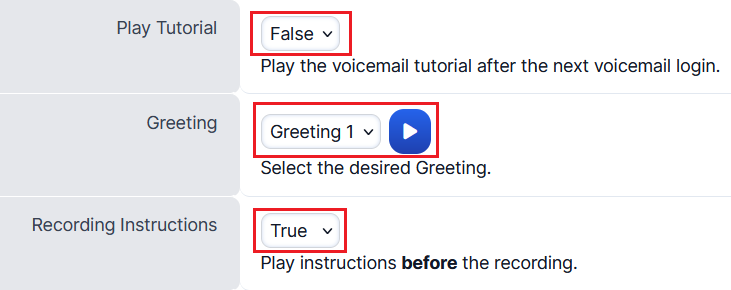
- Play Tutorial — Whether to play the voicemail tutorial after the next login
- Greeting — Choose which greeting to use from recorded/uploaded greetings
- Alternate Greet ID — An alternative greet ID used in the default greeting
Recording Settings:
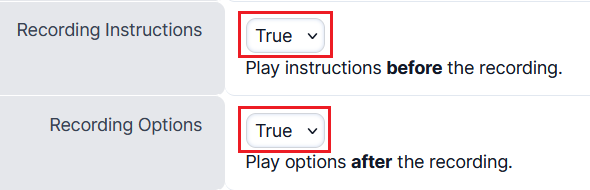
- Recording Instructions — Whether to play instructions before the recording
- Recording Options — Whether to play options after the recording
Notification Settings:
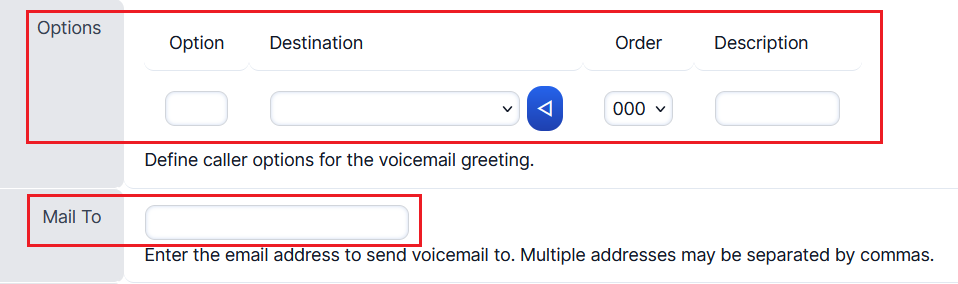
- Options — Define caller options for the voicemail greeting
- Mail to — Have voicemails emailed to a specified address
Storage Settings:
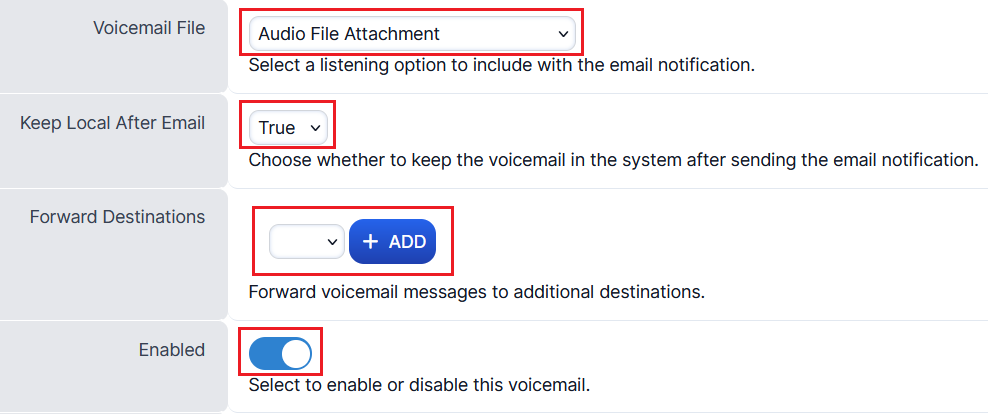
- Voicemail File — Select a listening option to include with the email notification (select Audio File Attachment)
- Keep Local — Whether to keep the voicemail in the system after sending email (accessible from PBX or phone)
- Enabled — Enable or disable the voicemail inbox
Accessing Voicemail Messages
-
You can access saved voicemails in two ways:
Option A: Via Phone
Dial *97 and press 1 to listen to new voicemail messages.
Note
This method only works if "Keep Local After Email" is set to True.
After listening to a new message, you have these options:
- Press 1 — Listen to the new message
- Press 2 — Save the new message
- Press 3 — Hear the message envelope (source number, date & time)
- Press 5 — Return the call
- Press 7 — Delete the message recording
- Press 8 — Forward the message
- Press 9 — Forward the message to email
Option B: Via the PBX
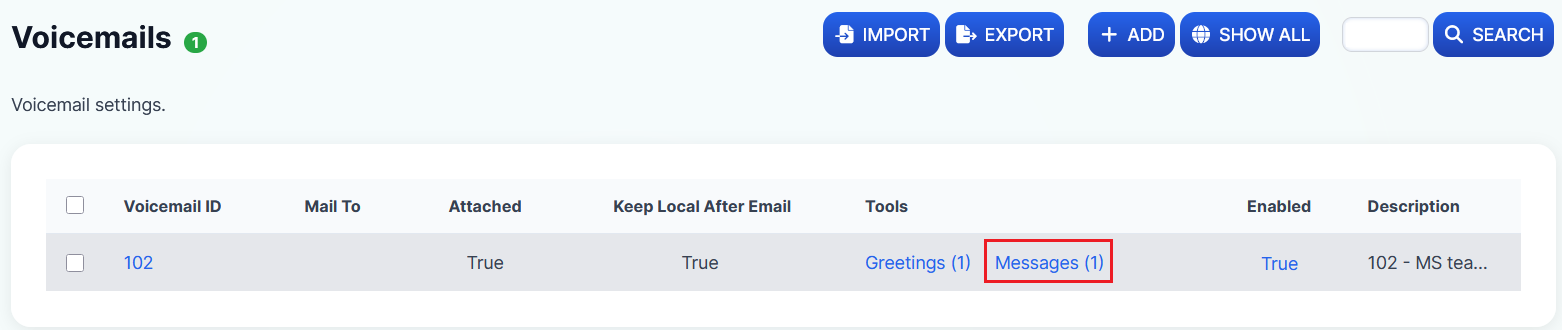
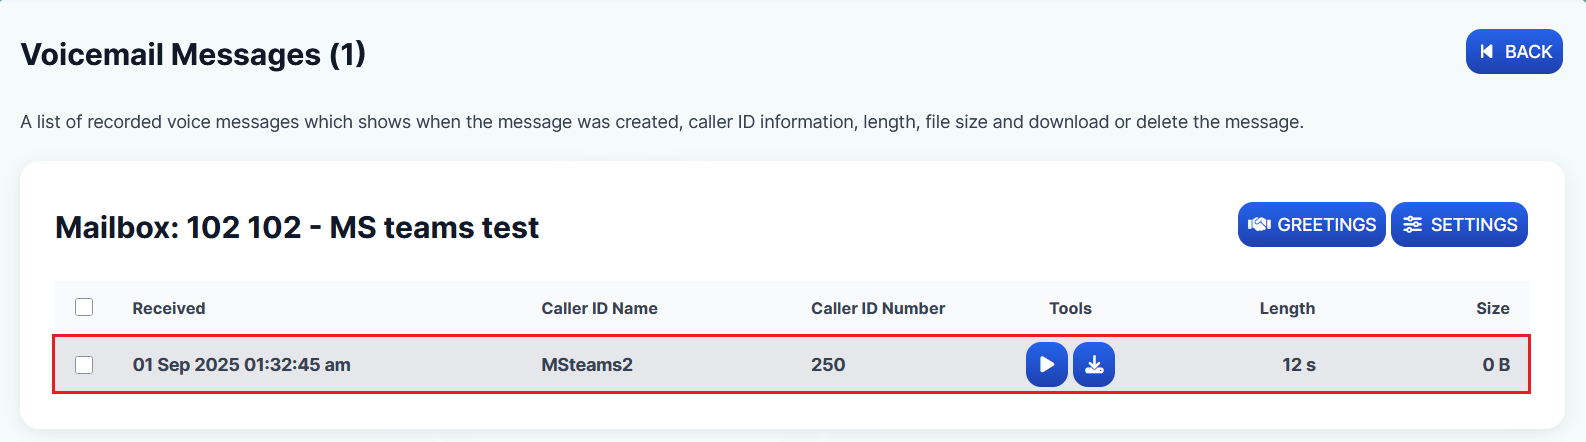
Navigate to Applications → Voicemail and click on the Messages tool for the relevant voicemail inbox. New messages are indicated with a number count in brackets.
Setting Up a Shared Voicemail Inbox
-
Navigate to Applications → Voicemail.
-
Click on the +ADD button to open a new Voicemail Inbox add form.

-
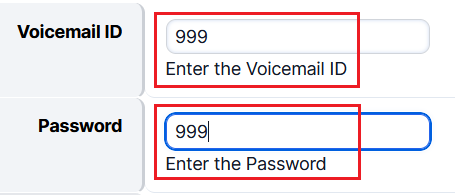
Set a suitable voicemail ID and password for the new shared inbox. For easier access, make the voicemail ID and password the same.
-
Configure all other required settings and greetings as described in Steps 3 to 6 above.
-
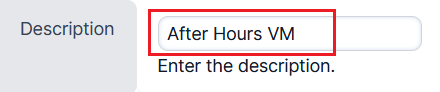
Give a suitable description for the shared inbox (e.g., "After Hours VM" or "Busy VM").
Configuring BLF Key for Shared Voicemail
-
Navigate to Accounts → Devices and select the device(s) where the BLF key should be added.
-
If devices are using a profile, go to Accounts → Devices → Profiles instead.
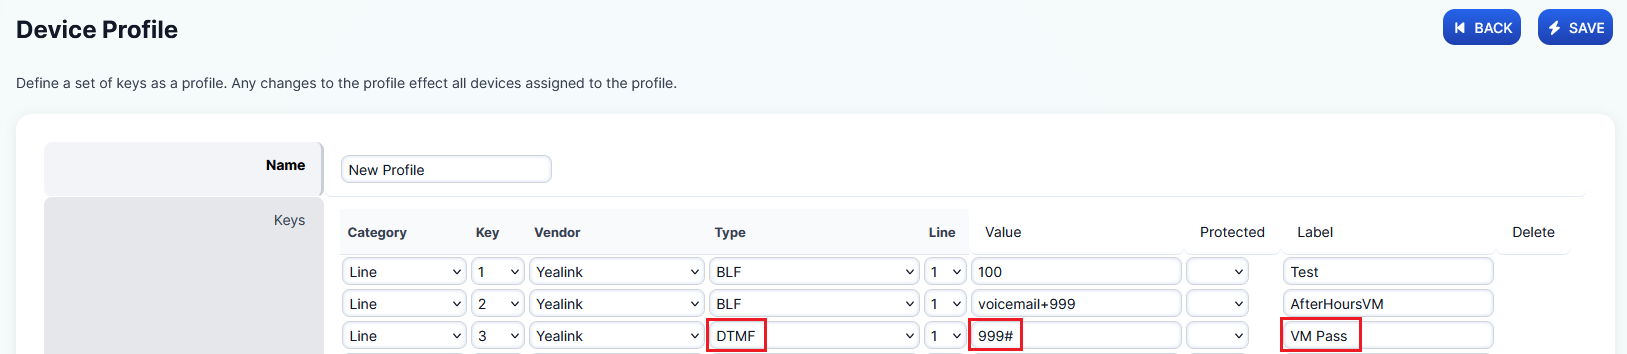
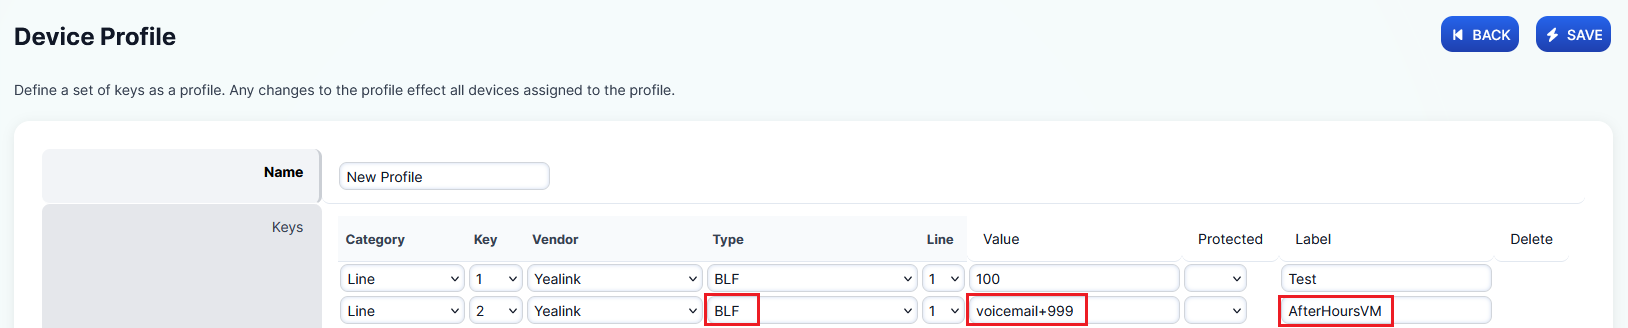
In the selected device or profile, scroll to the Keys section and add a new entry:
- Value: voicemail+ext (e.g., voicemail+999 for a shared voicemail box)
- Label: A meaningful name (e.g., "Shared VM", "Busy VM", or "AfterHrs VM")
-
Click Save, then click Provision under each device to apply the changes.
-
To ensure proper provisioning, go to Status → Registrations, tick the checkbox next to the extension, and click Provision. Then tick the box again and click Unregister to force the phone to reboot and apply settings.
Note
Confirm with the customer that the BLF key for the shared voicemail box appears on the phone. If not, ask them to perform a factory reset and check again.
Configuring DTMF Key for Auto-Password Entry
If the user prefers to skip manually entering the shared VM inbox password, you can configure a DTMF key on the phone that auto-enters the password.
-
Navigate to Accounts → Devices and select the device(s), or go to Accounts → Devices → Profiles if using profiles.
-
In the Keys section, add a new entry:
In this example, the shared VM Inbox 999 has a password of 999:
- Value: VM password# (e.g., 999#)
- Label: VM Pass
When a user accesses the shared VM inbox, they simply press the DTMF key when the password is prompted.