Set up Call Forwarding on Extensions
Call Forwarding allows you to redirect incoming calls from one extension to another extension or external number, based on different conditions such as busy, no answer, or device not registered.
-
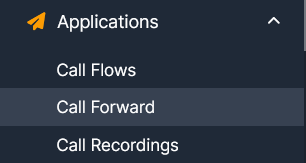
Navigate to Applications → Call Forward.
-
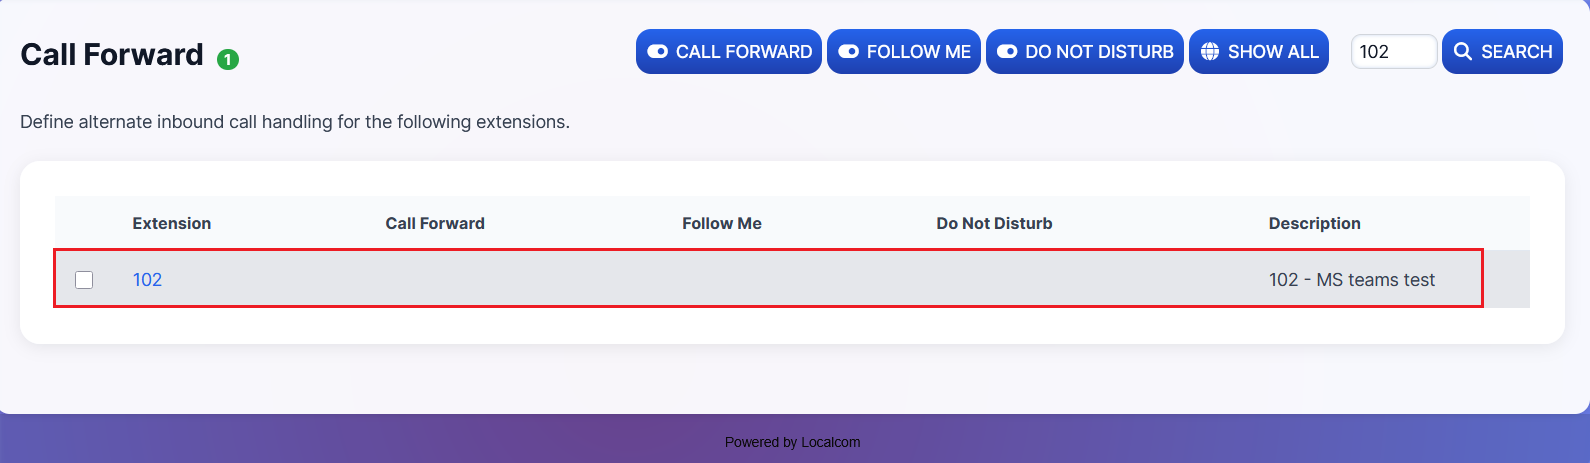
Click on the extension for which you want to set up call forwarding.
-
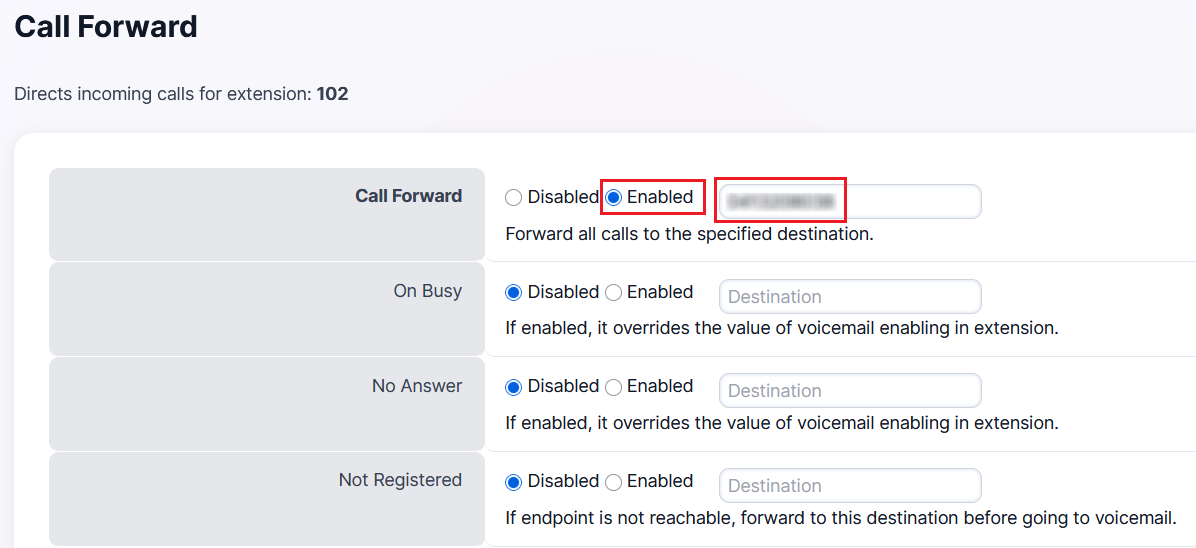
Configure the forwarding rules:
Rule Description Call Forward Unconditional forward — all incoming calls are diverted to the specified destination, regardless of other rules On Busy Forwards calls when the extension is busy or occupied with another call No Answer Forwards calls when the extension fails to answer or there is no answer Not Registered Forwards calls when the extension has lost its registration on the PBX 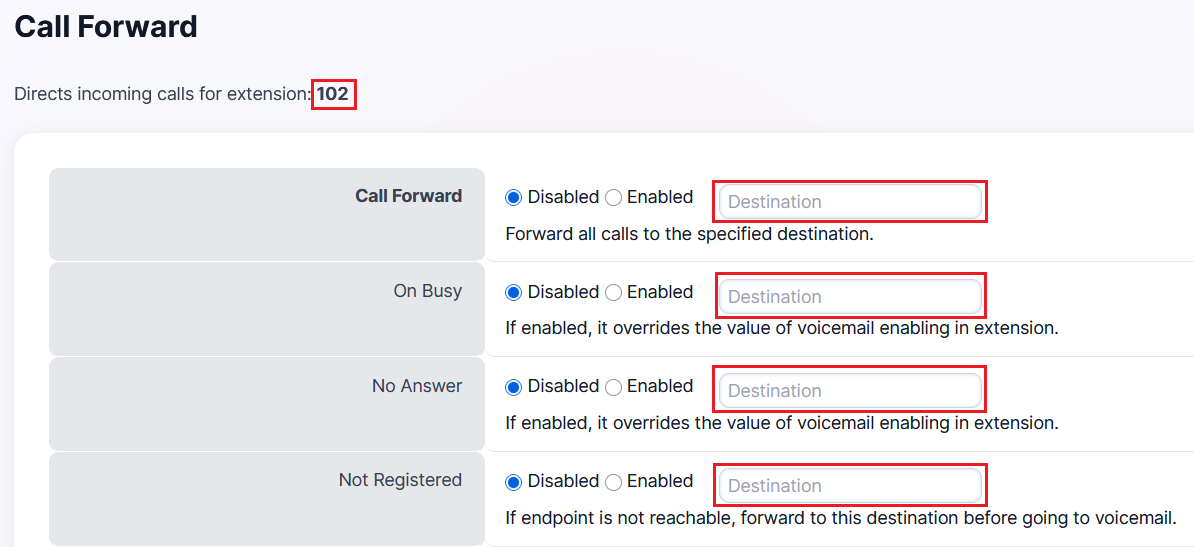
-
Enable the required forwarding action and specify the destination (internal extension or external DID number).
-
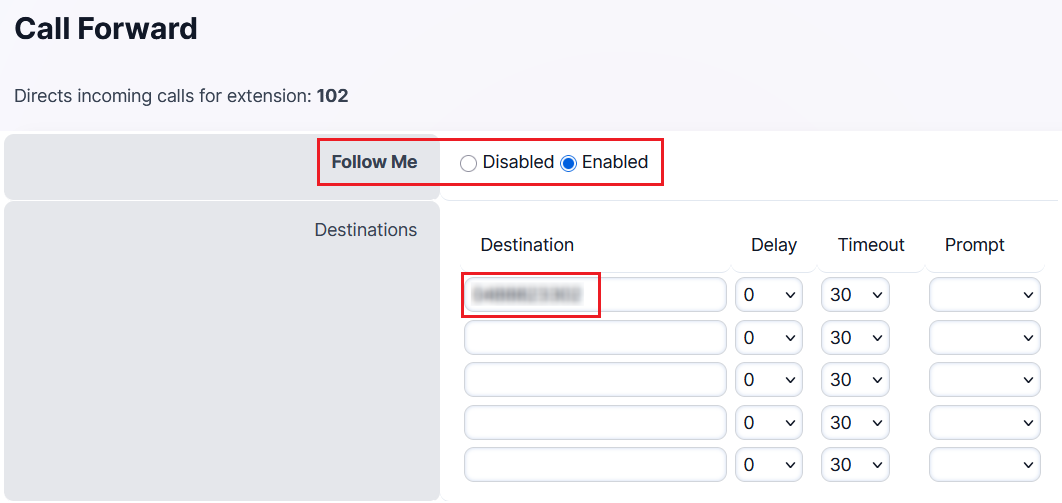
You also have the option to enable additional features:
- Follow Me: When enabled with an external number or extension specified, all incoming calls are automatically redirected to the Follow Me destination. When disabled, calls only ring the extension.
- DND (Do Not Disturb): When enabled, all calls to the extension are declined (and may redirect to voicemail if enabled). When disabled, calls come through normally.

Set up Call Block on Extensions
Call Block allows you to block specific inbound or outbound calls on extensions, based on caller ID or number patterns. Use this to prevent unwanted calls or restrict outbound dialing.
-
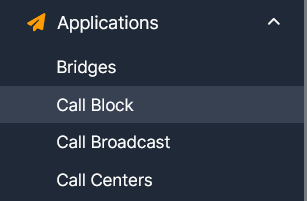
Navigate to Applications → Call Block.
-
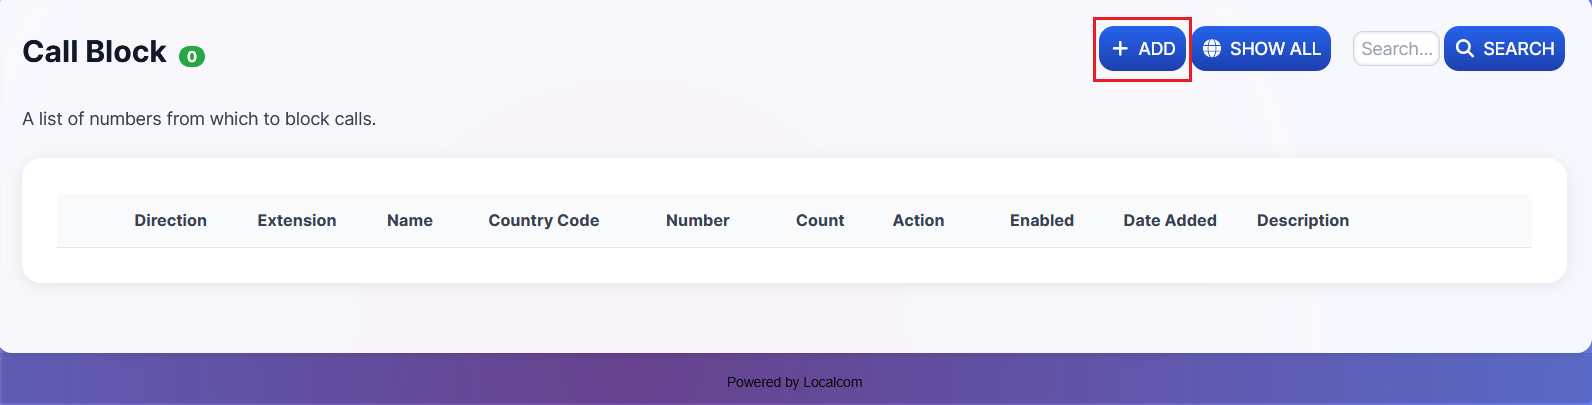
Click on the +ADD button to add a new call block rule.
-
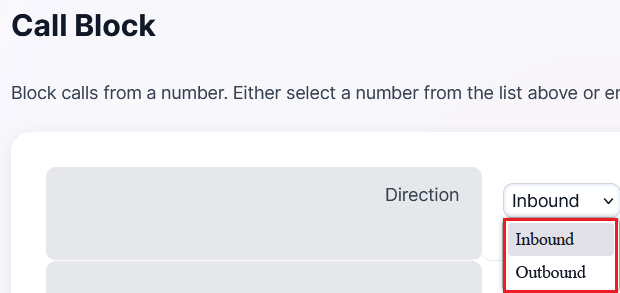
Select the direction of calls to block (Inbound or Outbound).
-
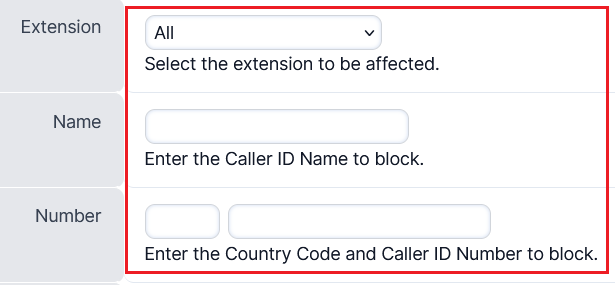
Specify the block settings:
- Block for a specific extension or all extensions
- Specify the Caller ID name and number to be blocked
-
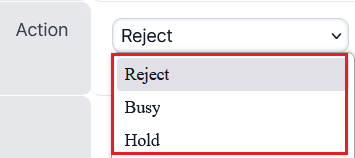
Specify the action for the blocked call:
- Reject — Decline the call
- Busy — Show as busy to the caller
- Hold — Place the call on hold
Set up Music On Hold (MOH)
Music On Hold plays audio to callers when they are placed on hold or waiting in a queue. NexusUC comes with default hold music, but you can upload custom audio files.
-
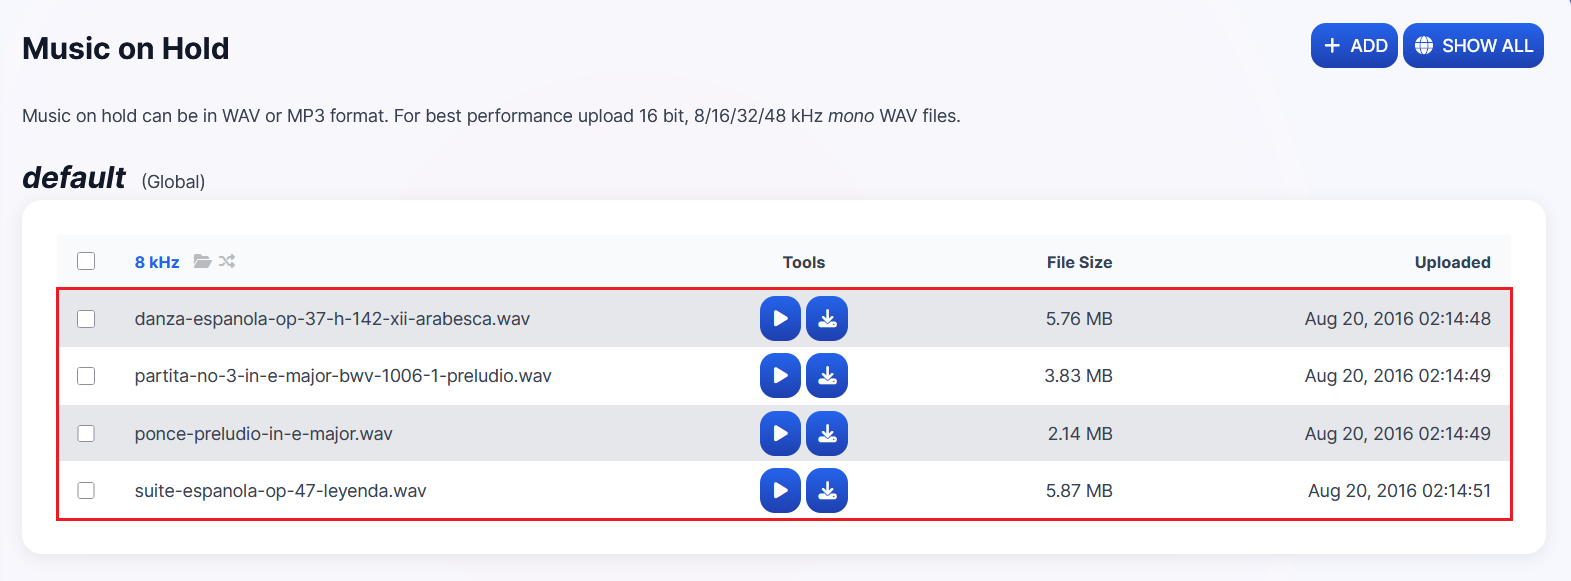
Navigate to Applications → Music on Hold.
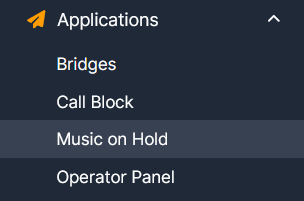
This section already has some on-hold music files by default in 8/16/32/48 kHz frequencies.
-
To upload a custom on-hold music file, click the +ADD button in the top right corner.
Audio File Requirements
Upload hold music in WAV format with these settings:
- Bit Resolution: 16 Bit
- Audio Frequency: 8000 / 16000 / 32000 / 48000 Hz
- Audio Channels: Mono
- PCM Format: A-law
-
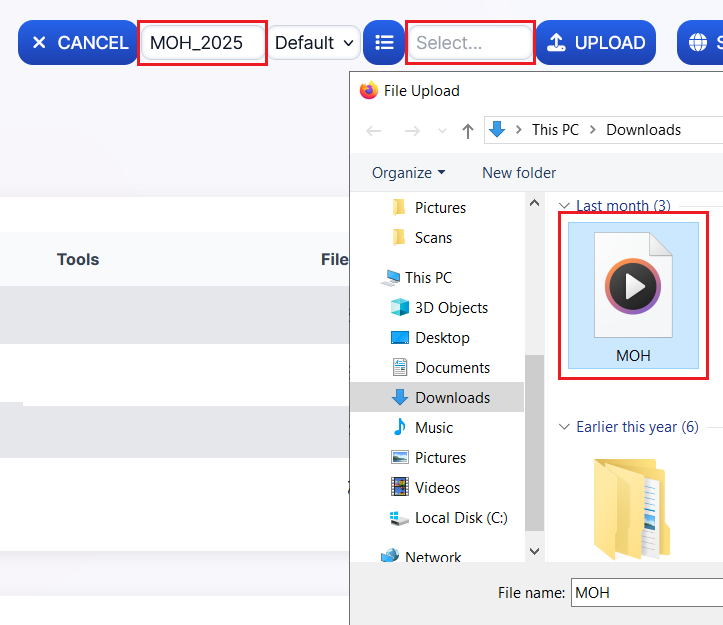
If you want to upload to an existing category, select it. Otherwise, click the + button to create a new MOH category.


-
Enter a name for the new category (if creating a new one).

-
Leave the dropdown set to "Default" and click "Select" to choose a file to upload.
-
Once the file has been selected, click the Upload button. Large files may take some time.

-
Once uploaded, the new category and file will be listed at the bottom of the page.

-
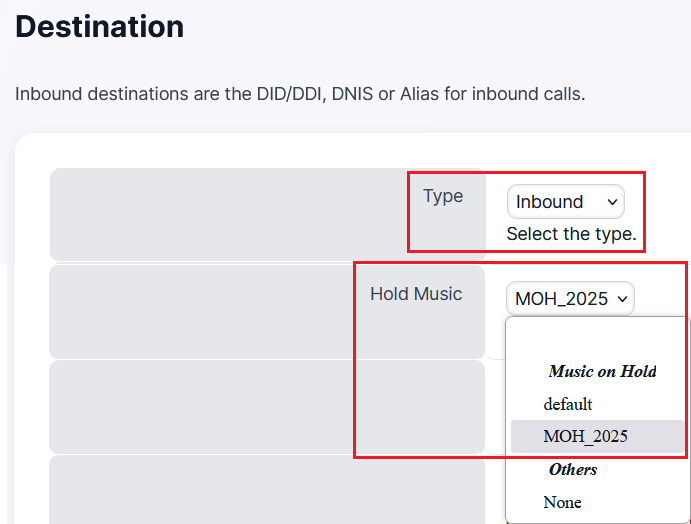
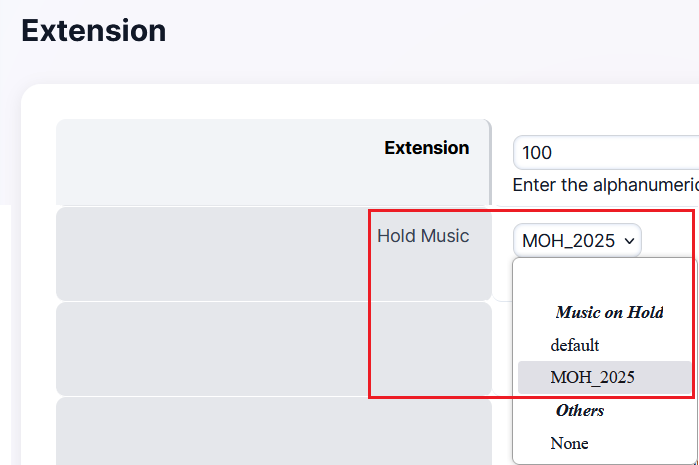
Now assign this hold music to be played when calls to a destination, extension, or call center queue are placed on hold.
Assigning to a destination:
Assigning to an extension:
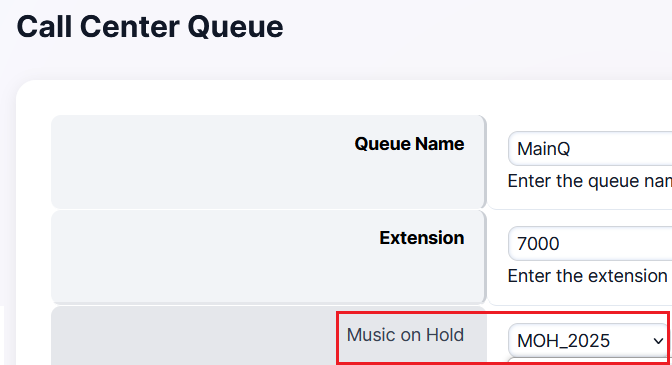
Assigning to a call center queue: