Set up Ring Groups
Ring Groups allow multiple extensions to ring simultaneously or in sequence when an inbound call arrives. This is useful for teams or departments where any available member should be able to answer.
-
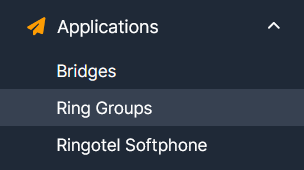
Navigate to Applications → Ring Groups.
-
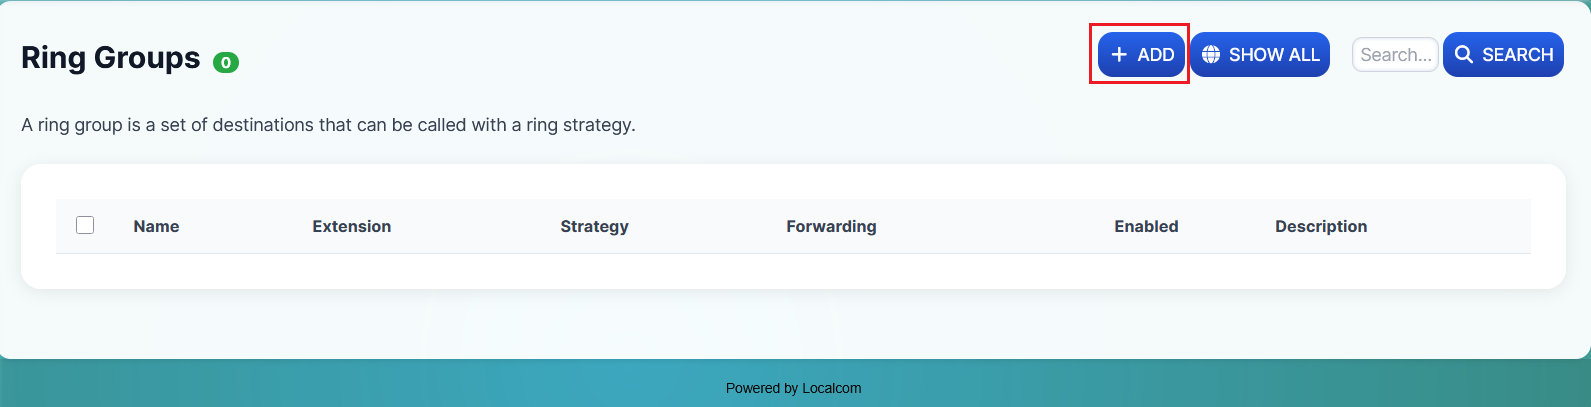
Click on the +ADD button to open a new Ring Group add form.
-
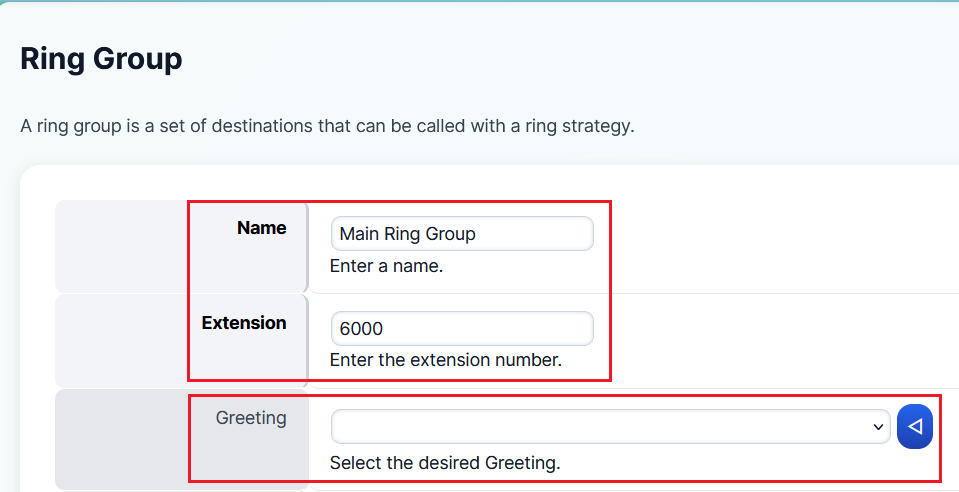
Specify a clear and descriptive name for the Ring Group along with its standard category extension. You may also attach a greeting that will play when an inbound call reaches this Ring Group.
-
Select the ringing strategy for the Ring Group:
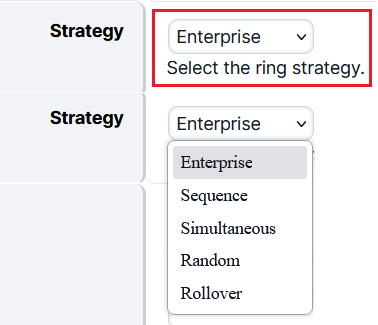
Strategy Description Simultaneous Rings all destinations. All destinations share the same thread. Sequence Calls destinations in sequence, lower order goes first. Enterprise Rings all destinations. Each destination uses its own thread. Rollover Calls destinations in sequence and skips busy destinations. Random A random destination will ring. -
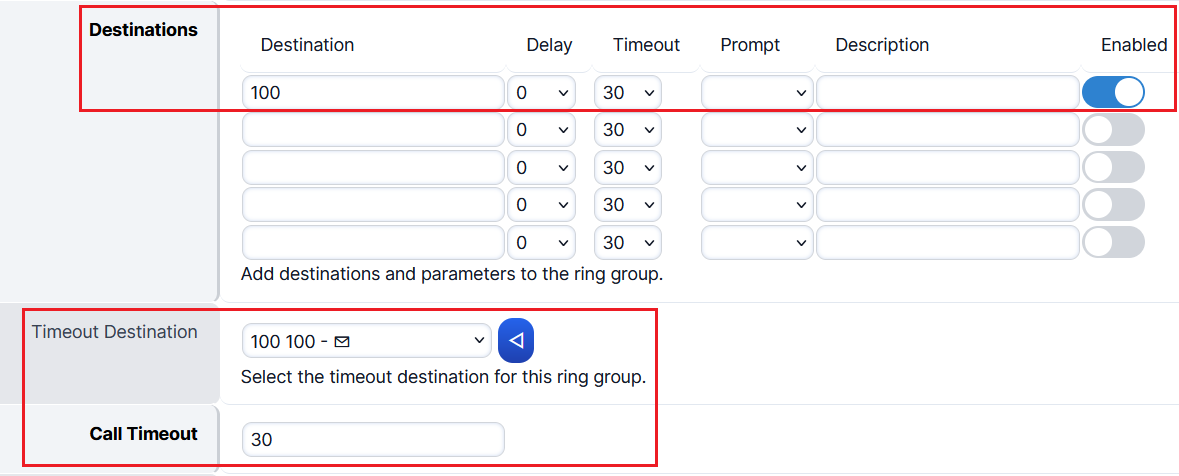
Define the destinations that should ring (internal extensions or external phone numbers). Set the call timeout duration (in seconds) and choose a timeout destination (where the call goes if no one answers).
-
Set the Ring Back to au-ring — this is the sound the caller hears while waiting (typically a music on hold or ring back tone).

-
Additional optional settings are available for further customization:
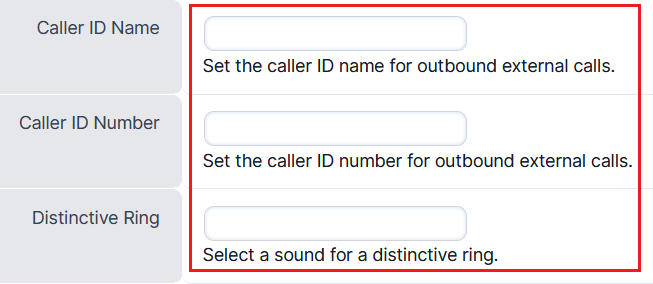
- Caller ID Name — The Caller ID name used for outbound external calls
- Caller ID Number — The Caller ID number used for outbound external calls
- Distinctive Ring — Have a distinctive ring tone for inbound calls to this Ring Group
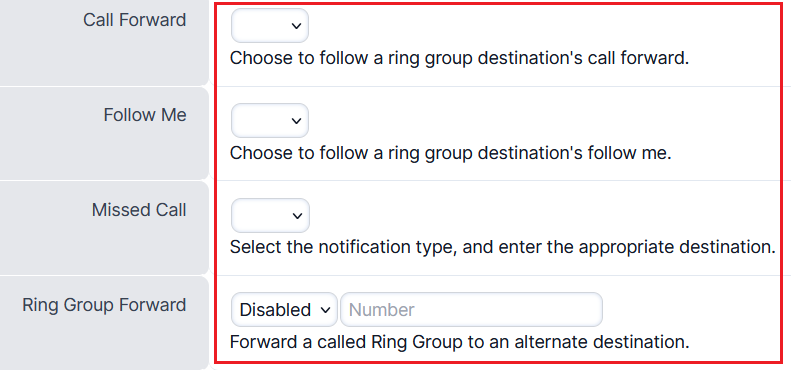
- Call Forward — Enable or disable following the call forwarding setting of a destination in the Ring Group
- Follow Me — Enable or disable the Follow Me feature of a destination in the Ring Group
- Missed Call — Enable missed call notifications to be sent to a specified email address
- Ring Group Forward — Enable or disable Ring Group call forwarding and specify an alternate destination
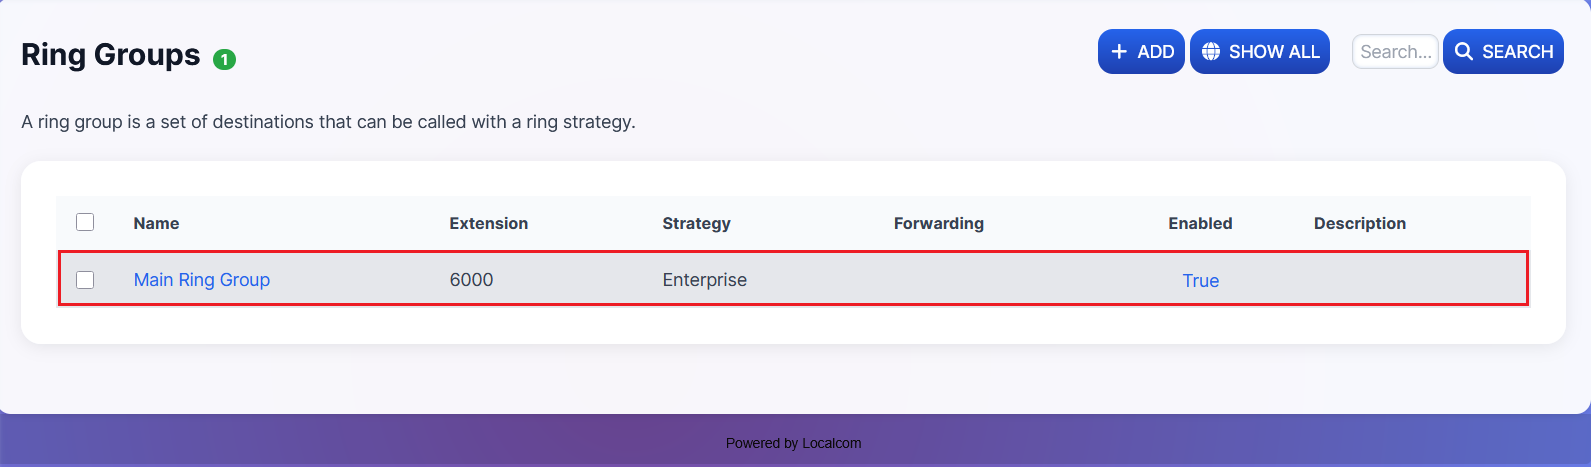
Result: Once the new Ring Group has been successfully created, it will appear under Applications → Ring Groups. You can assign this to any inbound destination action.
Set up IVR Menus
IVR (Interactive Voice Response) Menus allow callers to navigate a phone menu system by pressing digits. This is useful for directing callers to the right department or extension without human intervention.
-
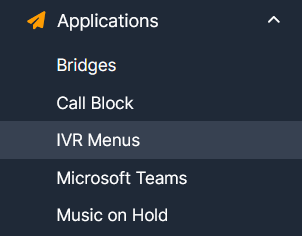
Navigate to Applications → IVR Menus.
-
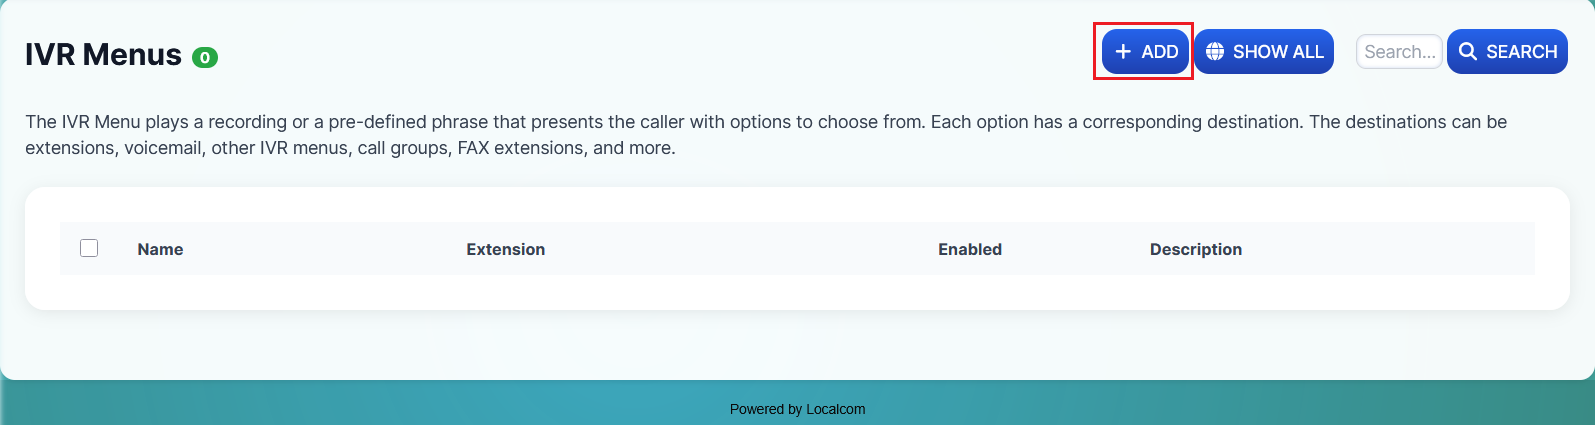
Click on the +ADD button to open a new IVR Menu add form.
-
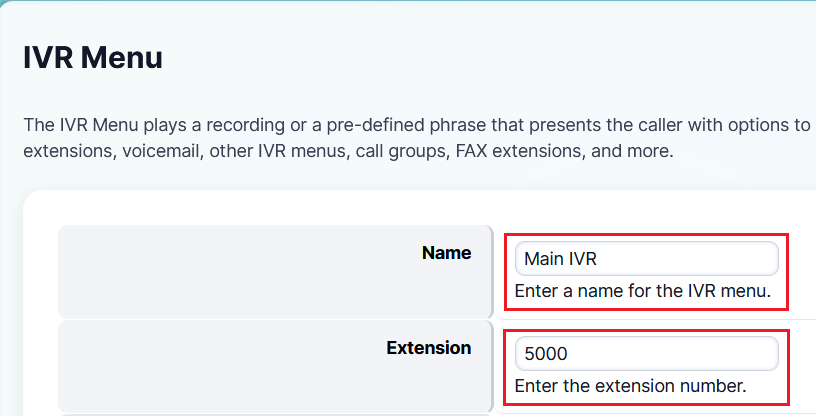
Specify a clear and descriptive name for the IVR Menu along with its standard category extension.
-
Attach greetings that will play when a call reaches this IVR Menu:
- Greet Long — The long greeting when entering the menu
- Greet Short — The short greeting played when returning to the menu
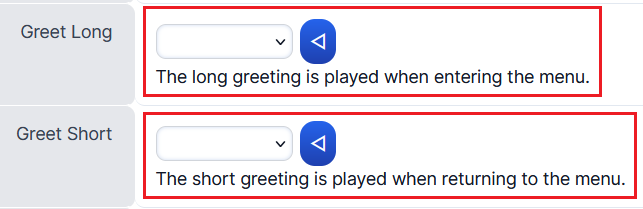
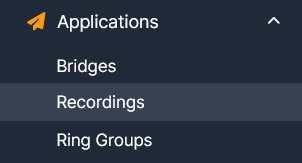
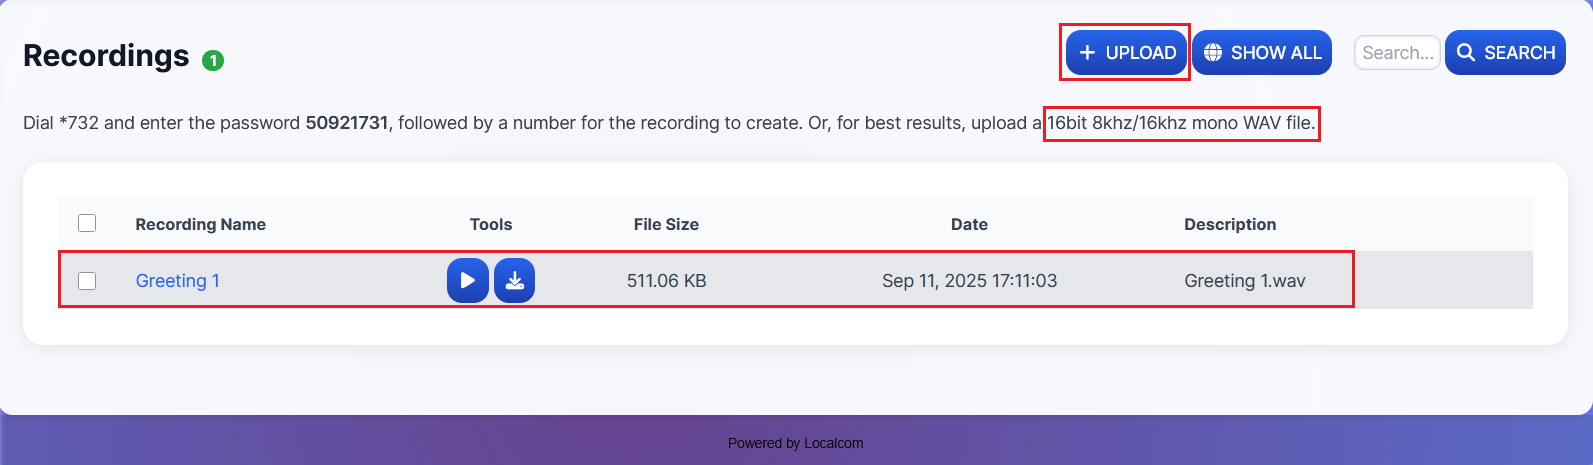
These recordings should be uploaded under Applications → Recordings.
Audio File Requirements
To avoid issues and for best results, upload recordings in WAV format with these settings:
- Bit Resolution: 16 Bit
- Audio Frequency: 8000 / 16000 / 32000 / 48000 Hz
- Audio Channels: Mono
- PCM Format: A-law
-
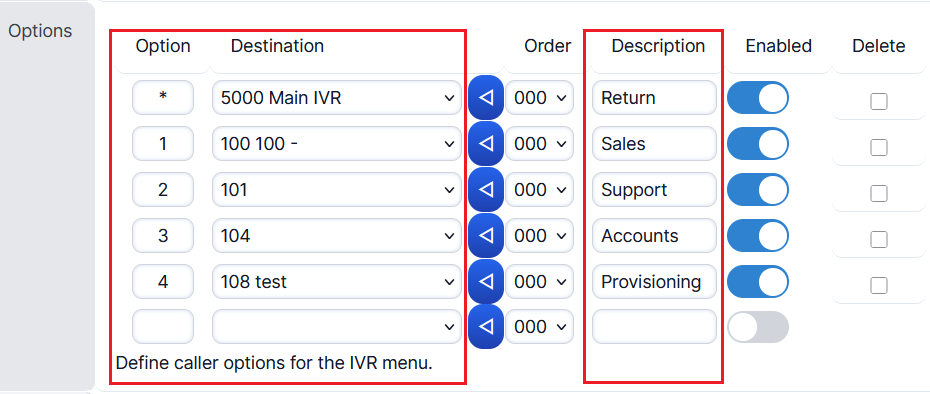
Define the caller options for the IVR menu. When a caller selects an option, they will be redirected to the corresponding destination. You can also add descriptions for each option.
-
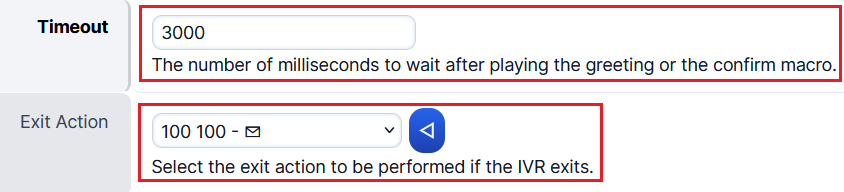
Specify the Timeout duration in milliseconds — the time a caller has to select an option (default: 3000 ms = 3 seconds). If no option is selected, the caller is redirected to the Exit Action.
-
Enable (True) or disable (False) the Direct Dial feature to allow callers to dial extensions directly from the IVR menu.

-
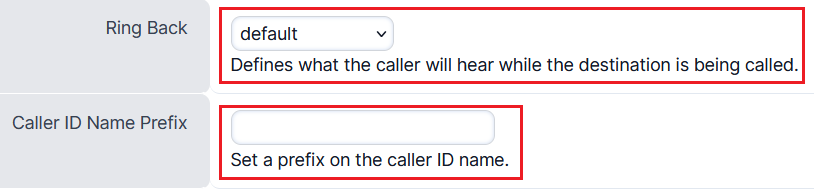
Set the Ring Back to au-ring or your preferred tone — this is the sound callers hear while the destination is being called.
You may also define a Caller ID Name Prefix for call origin identification (e.g., Sydney#0400123123).
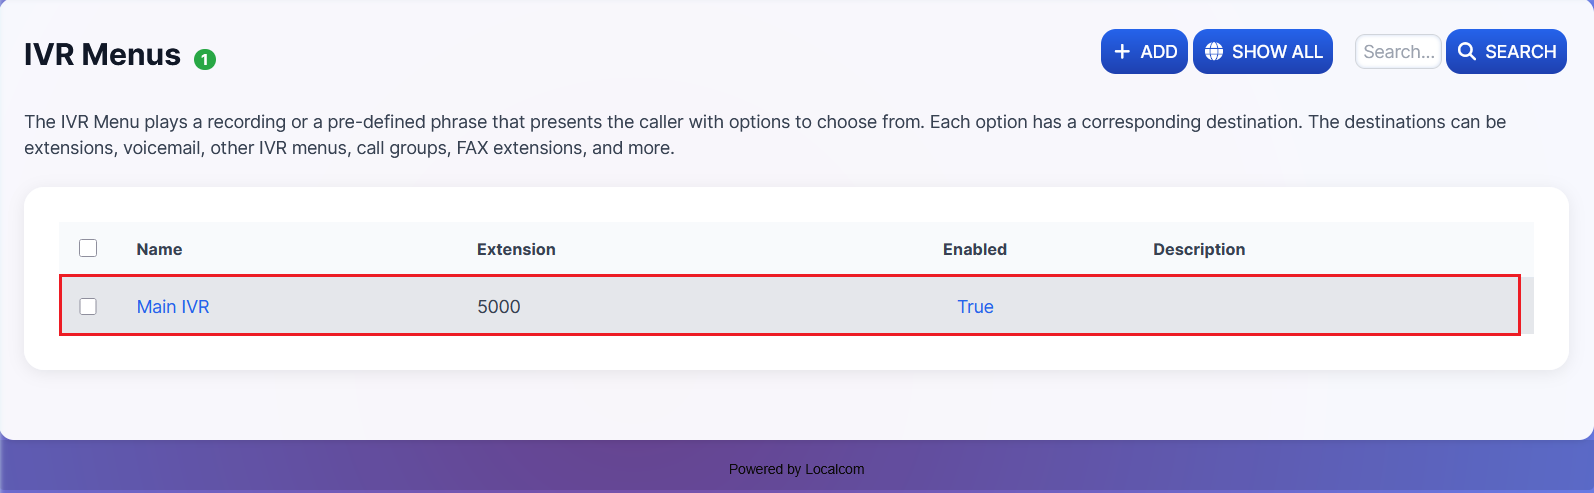
Result: Once the new IVR menu has been created, it will appear under Applications → IVR Menus. You can assign it to any inbound destination action.