Set up New Extensions
Extensions are the foundation of your PBX — each one represents a phone line assigned to a user or device. You'll need to create extensions before configuring other features like ring groups, queues, or call forwarding.
-
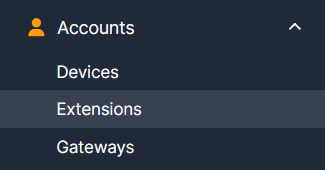
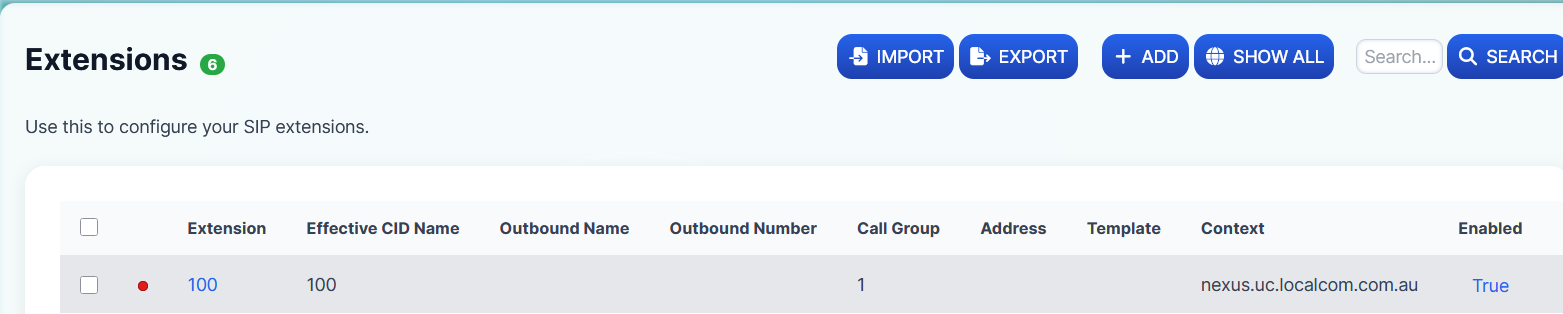
Navigate to Accounts → Extensions.
-
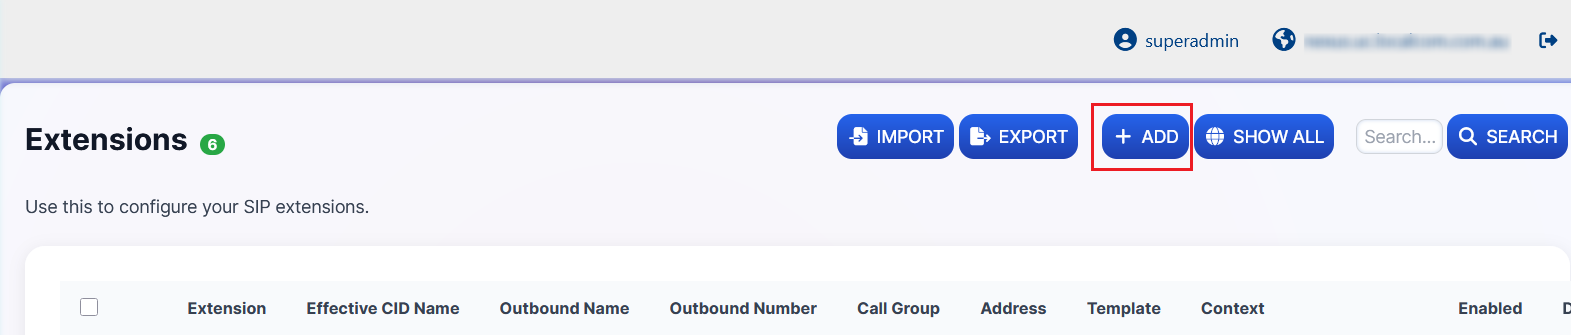
Click on the +ADD button to open a new extension add form.
-
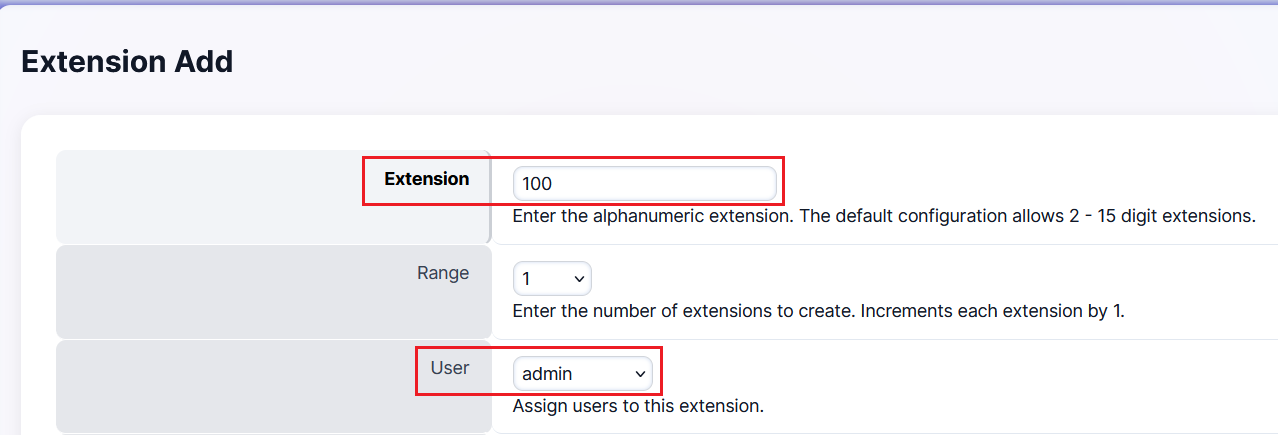
Assign an appropriate extension number and link it to the relevant user.
-
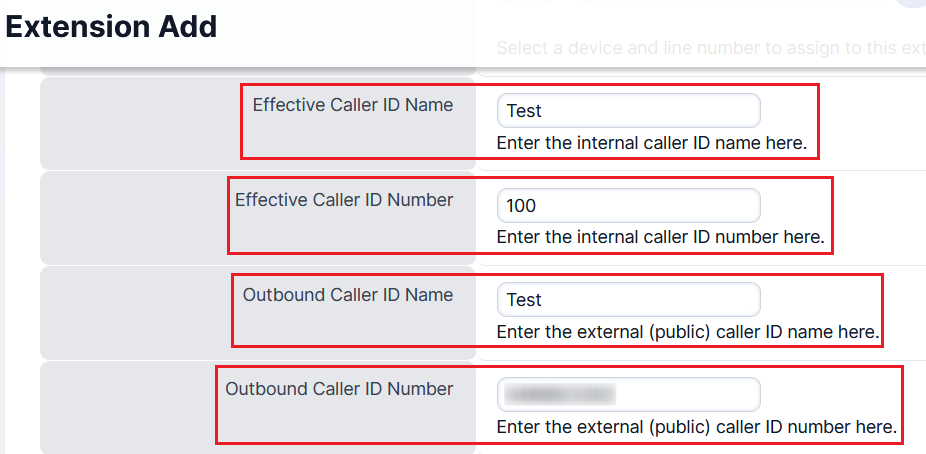
Set the caller ID fields:
- Effective Caller ID Name and Number — used for internal calls
- Outbound Caller ID Name and Number — displayed for external calls
-
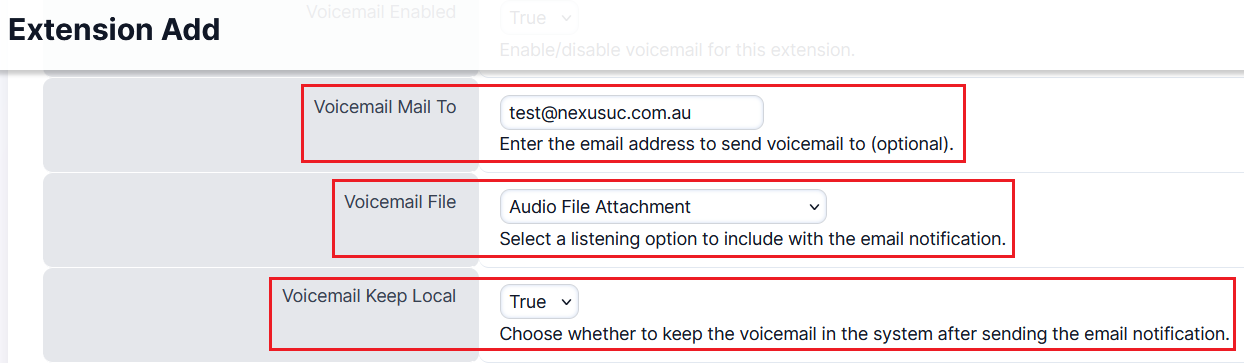
Configure the Voicemail settings (optional):
- To forward voicemails to email, enter the address in the Voicemail Mail To field and enable Audio File Attachment
- To retain voicemail recordings on the local device (phone), set Voicemail Keep Local to True; otherwise, leave it as False (default)
-
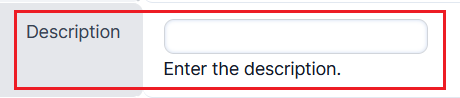
Enter a suitable descriptive name for this extension (e.g., 100 - Test), then click Save at the top right of the page.
Result: Once the new extension has been successfully created, it will appear under Accounts → Extensions. You can assign this extension to any inbound destination action.
Set up and Attach Devices
Device provisioning allows you to link physical IP phones to extensions, so they automatically register and receive configuration updates from the PBX.
-
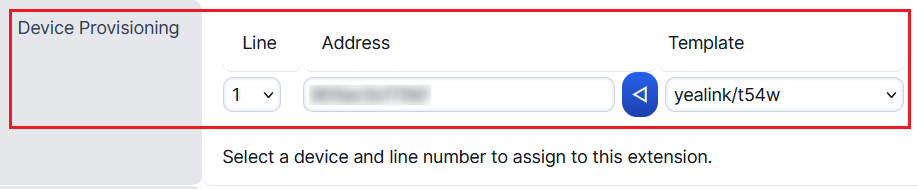
Attach a device's 12-digit MAC address to the new extension to be auto-provisioned. Select the appropriate model from the template dropdown if available (e.g., Yealink IP deskphones or cordless handsets).
-
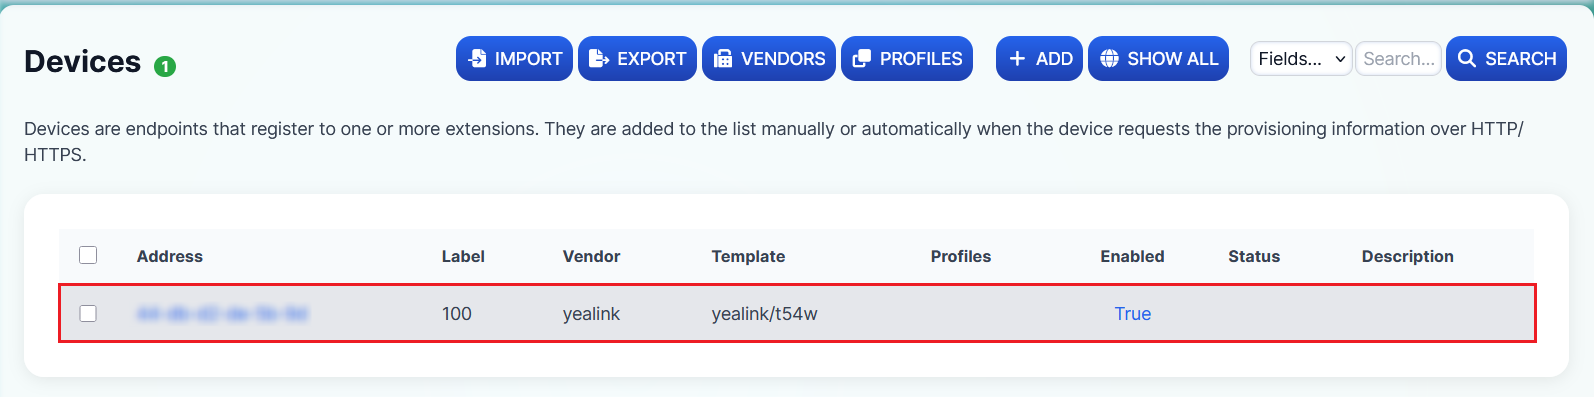
Once the above details are added and saved, the device will automatically appear under Accounts → Devices.
-
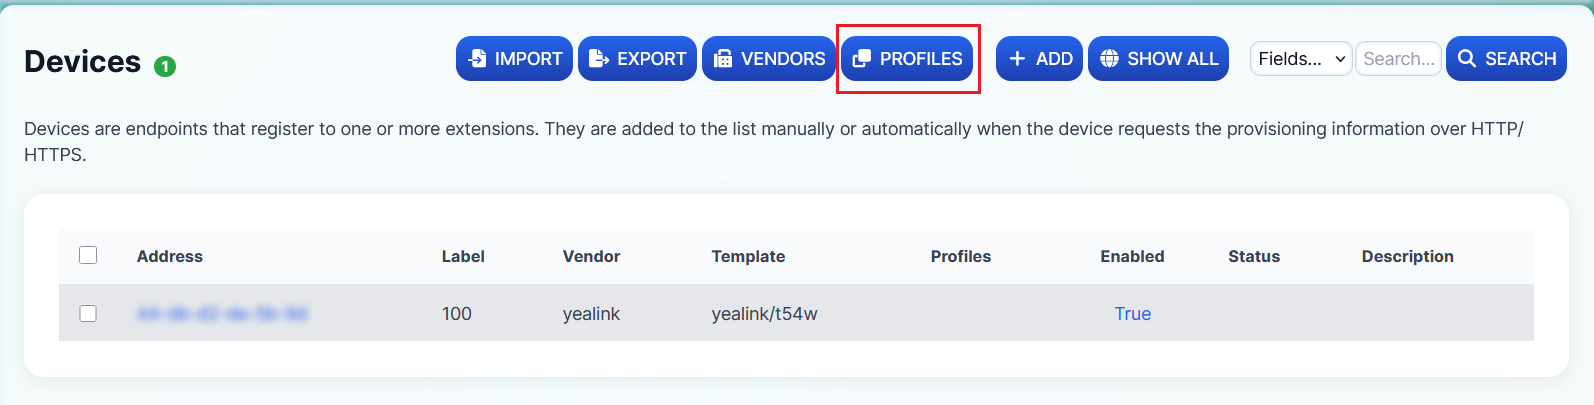
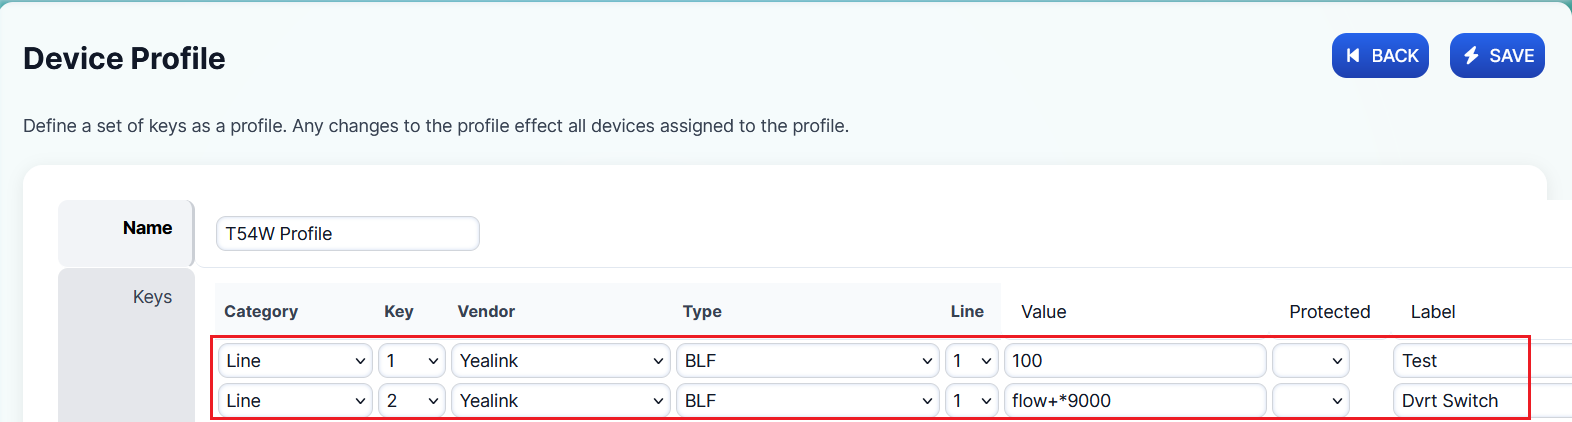
Under the PROFILES section, create a device profile to configure:
- Manual Call Flow Diversion Switch BLF keys
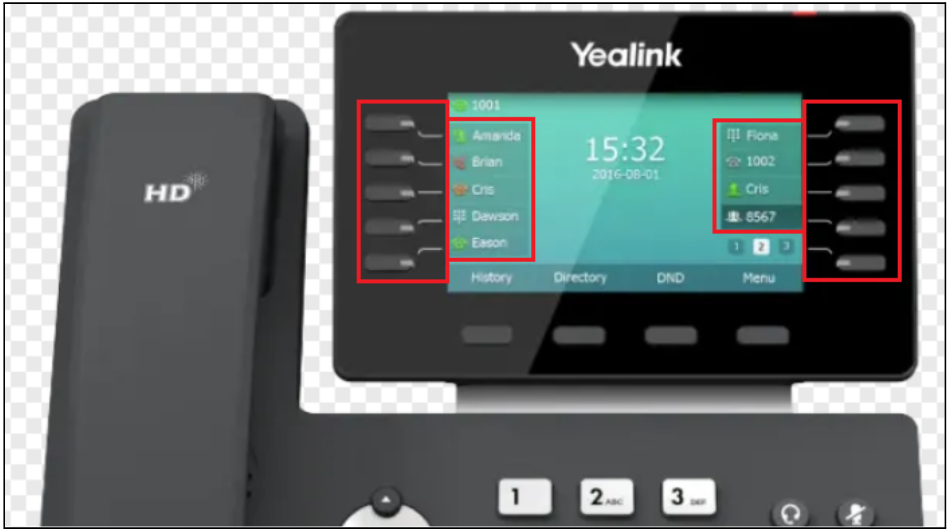
- Speed-Dial buttons on the phone screen
This allows users to easily toggle night switches or quickly dial specific extensions or external numbers directly from the phone.
Profile key configuration screen:
Example of configured BLF and speed-dial keys:
-
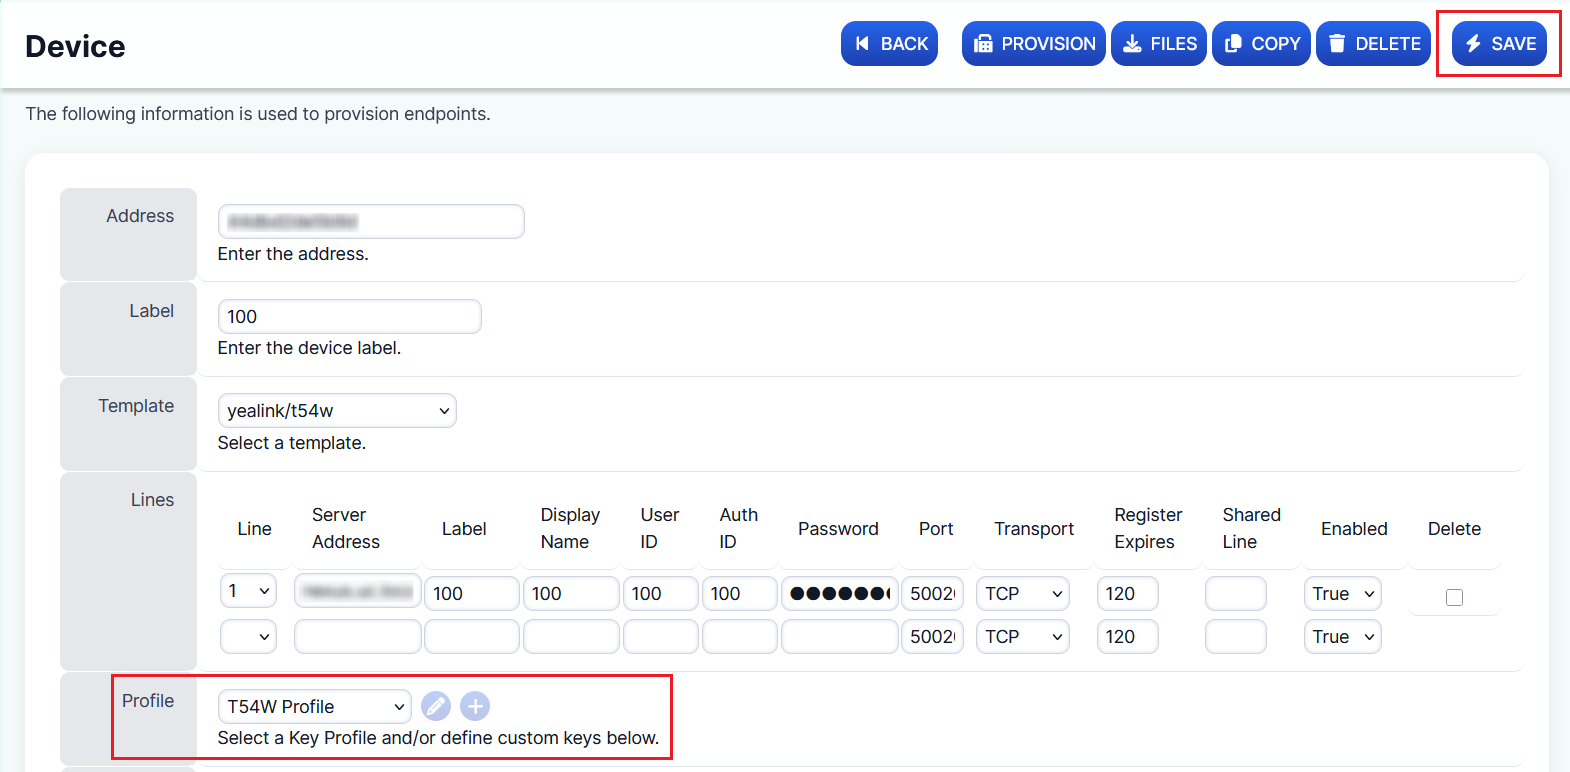
To display these keys on the phone screen, assign the created profile to each device. Navigate to Accounts → Devices, select the appropriate device, choose the correct profile from the dropdown menu, and click Save.
Note
If you make any changes to a profile, each phone using that profile must be re-provisioned for the updates to apply. Click the Provision button at the top right to push changes to the device. If changes don't reflect after provisioning, try rebooting the phone. If that still doesn't work, perform a factory reset to apply the new settings.
Registering Yealink Handsets via RPS
To register Yealink handsets via RPS, go to Applications → Yealink RPS.
Note
If this is the first time, you may need to add your domain to the RPS server (as shown below).

Once done, you'll see the newly attached Yealink devices listed. Click the '+' icon next to the relevant device to add it to the RPS server (the icon will change to a '–' to indicate success). Once added, perform a factory reset manually on the handset to complete registration.
Warning
Please allow 10–15 minutes for the factory reset or firmware updates to complete.
Result: Once the devices are registered, they will appear in the list as shown below.

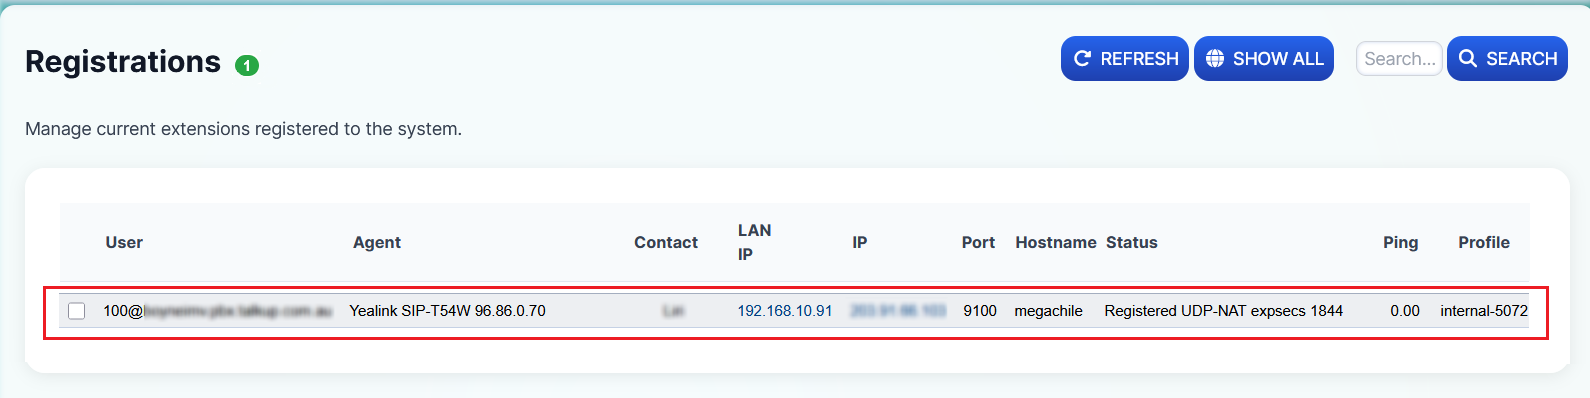
You can also view registered devices under Status → Registrations.