Set up Fax Server
The Fax Server allows you to send and receive faxes through NexusUC with email notifications and attachment delivery.
-
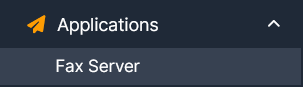
Navigate to Applications → Fax Server.
-
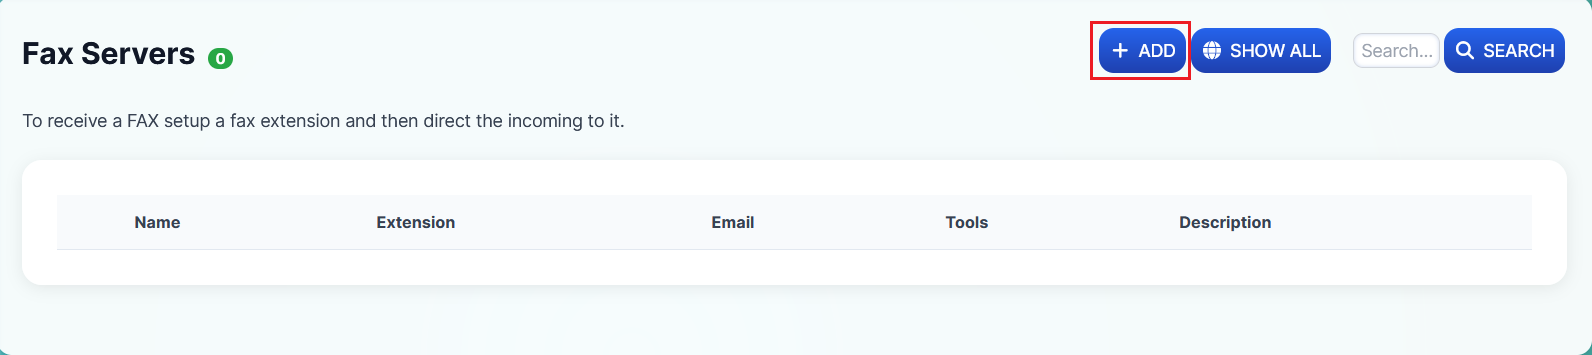
Click on the +ADD button to open a new Fax Server add form.
-
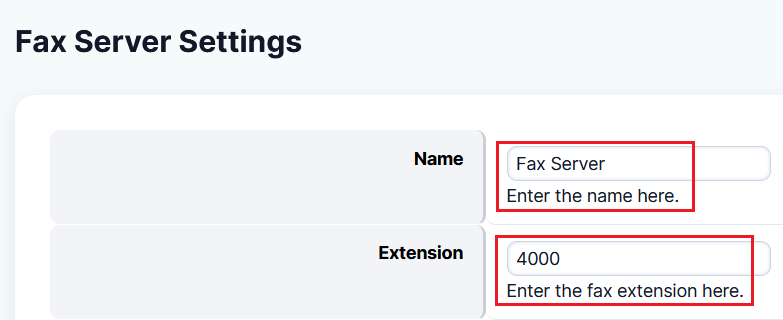
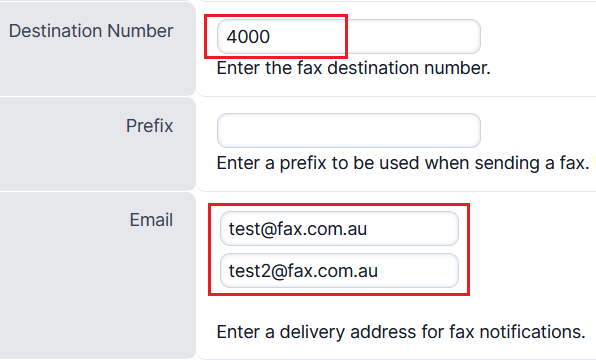
Specify a name for the fax server along with its standard category extension. Then set the destination number (same as the Fax Server extension) and the recipient's email address for fax notifications (up to 2 email addresses).
-
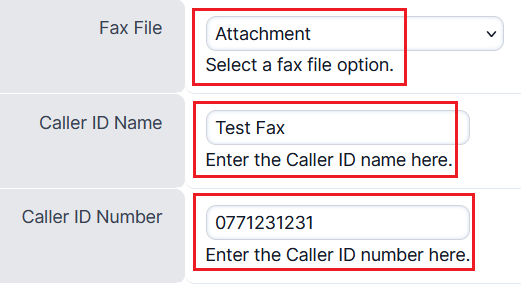
Set the fax file option to send as an attachment. Specify the Caller ID Name and Number for outbound fax.
-
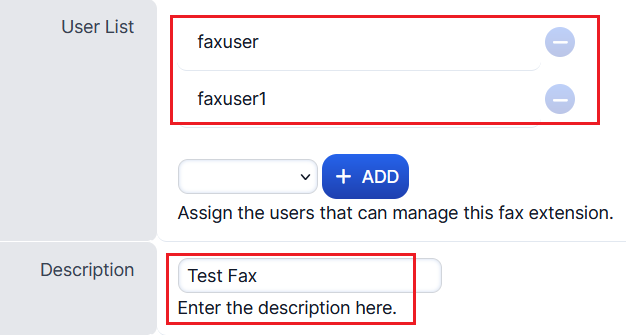
Assign the users who can access and manage the fax server settings, and give a suitable description.
Users can be created under Accounts → Users with the settings shown below:
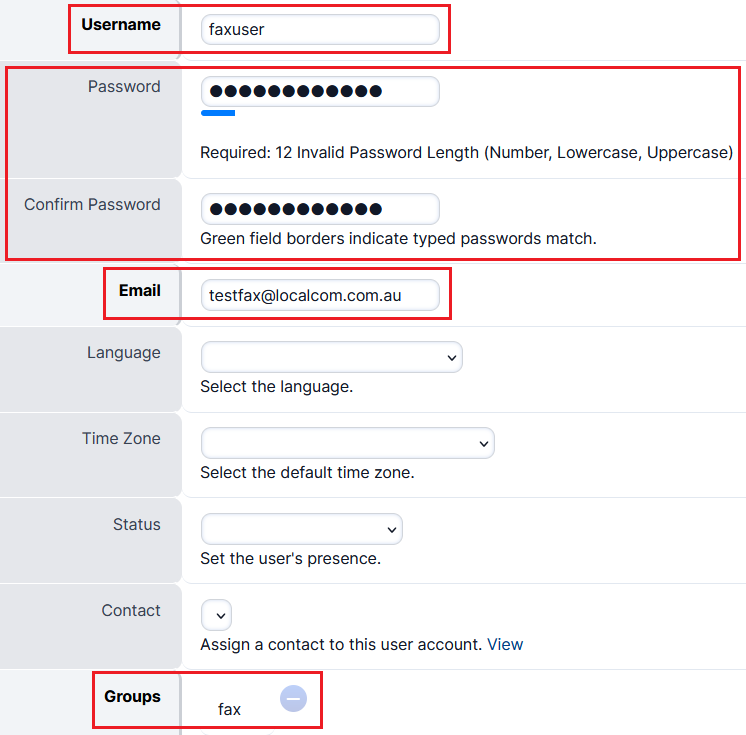
Result: Once created, the Fax Server will appear under Applications → Fax Server.
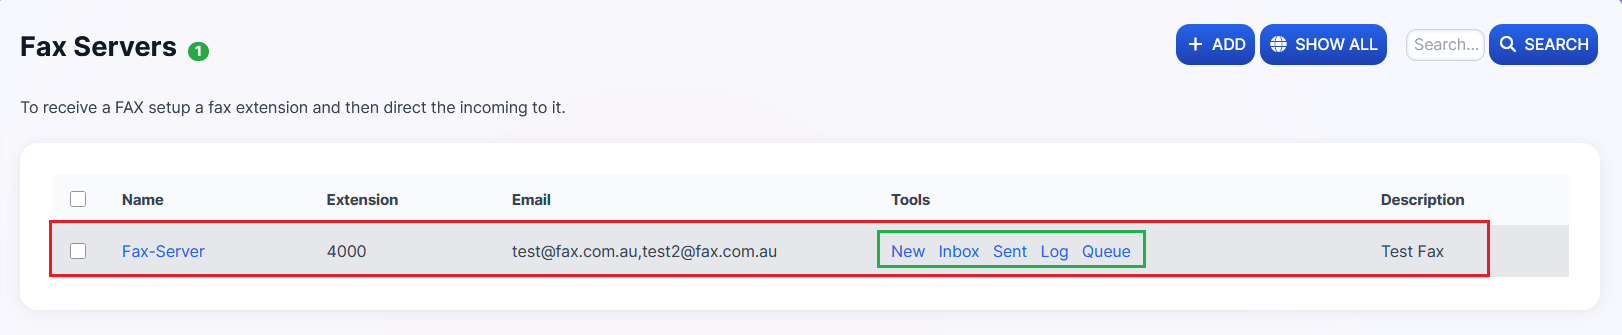
The Fax Server provides these sections:
- New Fax — Compose and send a new fax
- Inbox — Received faxes
- Sent — Outbound fax records
- Fax Log — Successful and failed attempts for both inbound and outbound faxes
- Fax Queue — Outbound faxes queued to be sent
Sending a New Fax
-
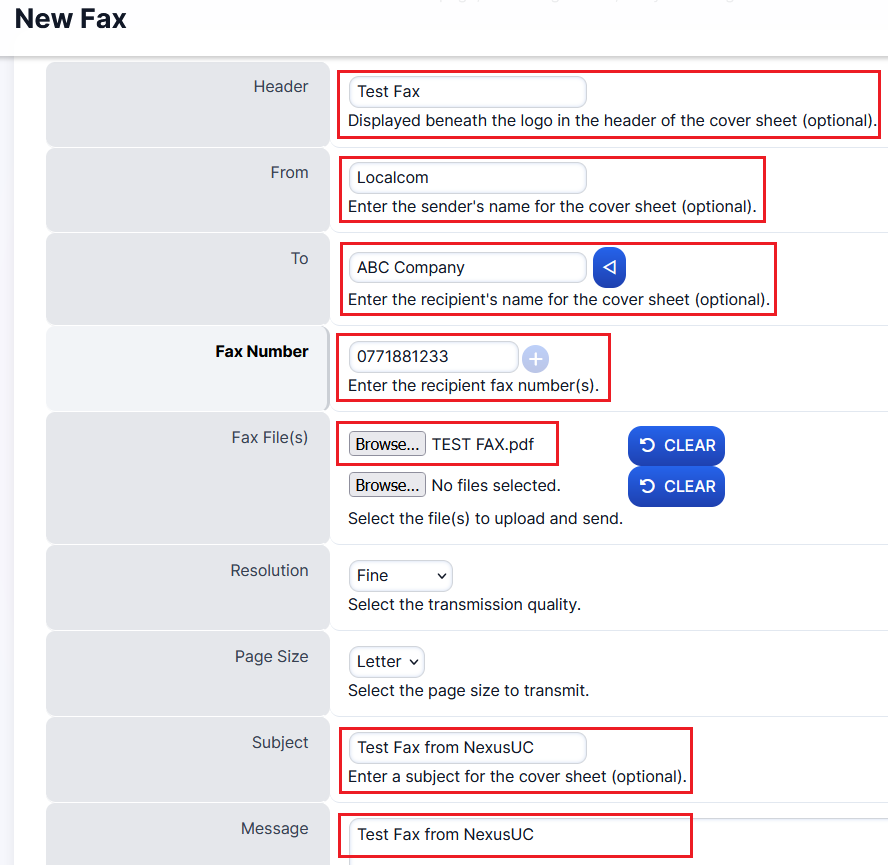
Click on the New button under Tools. Fill in the following:
- Sender's and receiver's names
- Recipient's fax number
- Upload any attachments (fax files)
- Subject for the fax
- Message to be shown as body text content
-
Click Preview to see the fax before sending. If it looks correct, click Send.

-
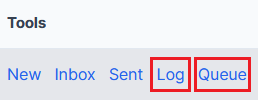
Once the fax is queued, use the Log and Queue sections to track delivery status.
The Inbox and Sent sections show records of inbound and outbound faxes along with PDF attachments.
Set up the Importing of Contacts or Phonebook Directories
NexusUC allows you to bulk-import contacts (individuals or organizations) so they appear in the phone directory for all extensions.
-
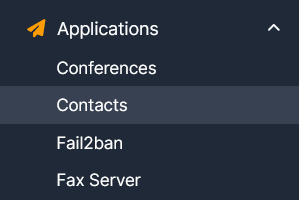
Navigate to Applications → Contacts.
-
Use the Google Sheet template below to prepare your contacts for mass import. Download/save the sheet in CSV format before importing.

Template field descriptions:
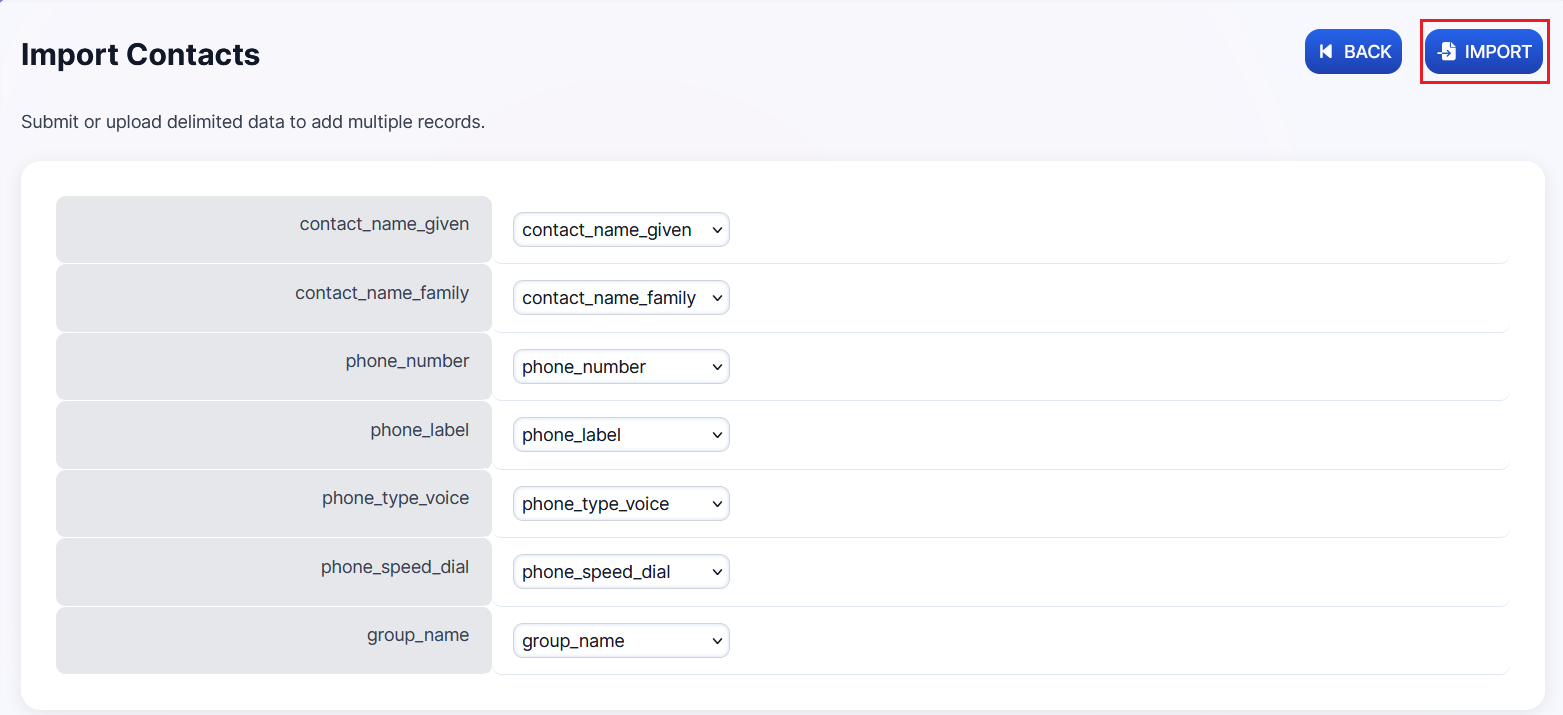
Field Description contact_name_given First name or full business name contact_name_family Surname (leave blank for business names) phone_number Contact number (mobile or landline) — mandatory phone_label Label as Mobile, Work, or Home (optional) phone_type_voice Must be set to 1 phone_speed_dial Number for speed dial (optional) group_name Use "user" if no custom groups are needed; otherwise, specify a custom group for each user/department -
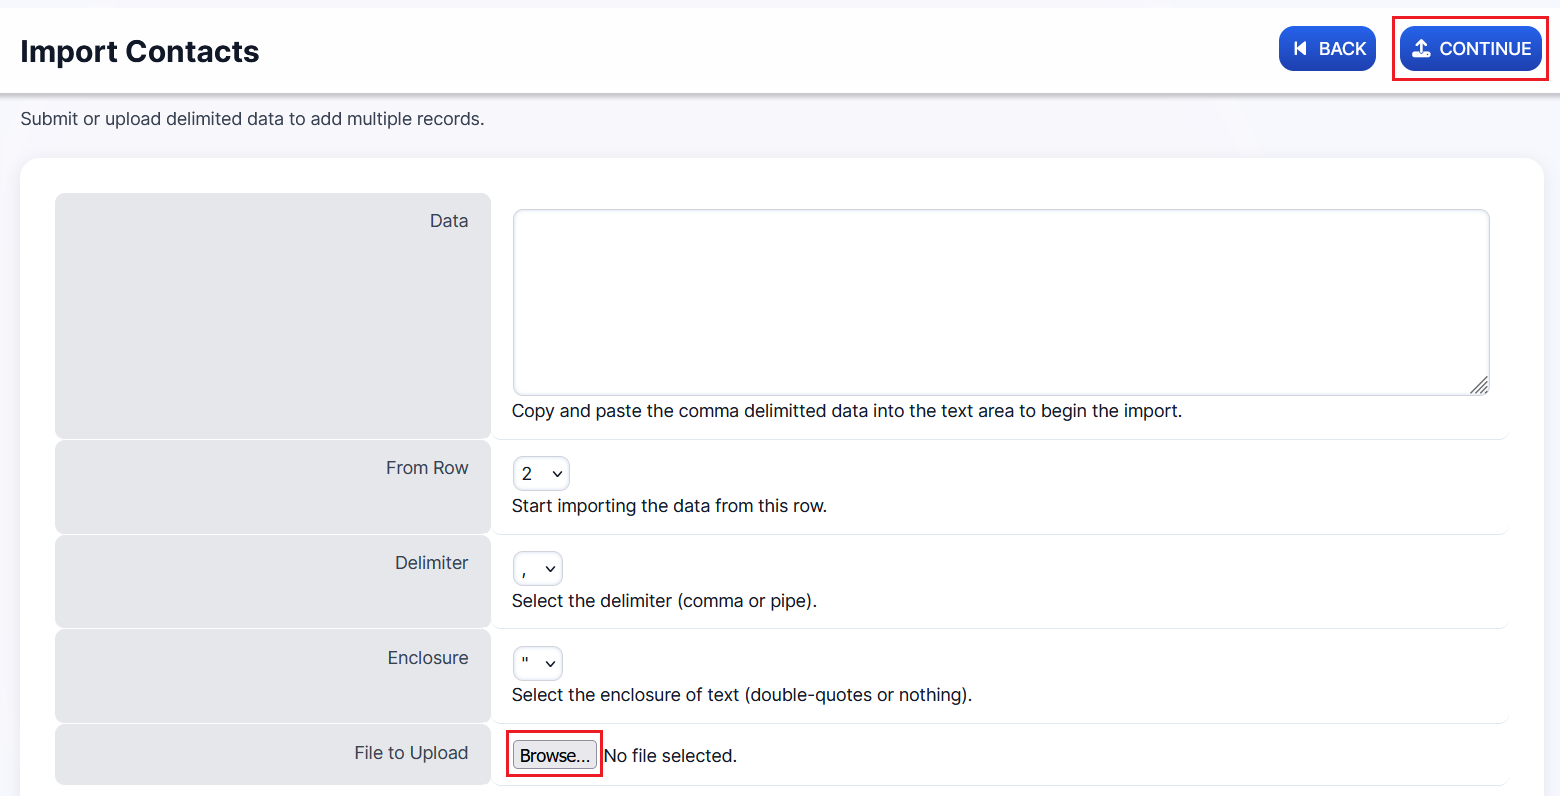
Once the CSV is ready, import it:
- Log in to NexusUC
- Navigate to Applications → Contacts
- Click the Import button

- Click Browse and select your completed CSV file
- Click Continue, then Import